Changes in the chart of accounts
In ERPLY Books, it is possible to add new accounts, change the name of existing accounts, deactivate accounts or lock them. These processes are described in this manual.
Adding a new account to the chart of accounts
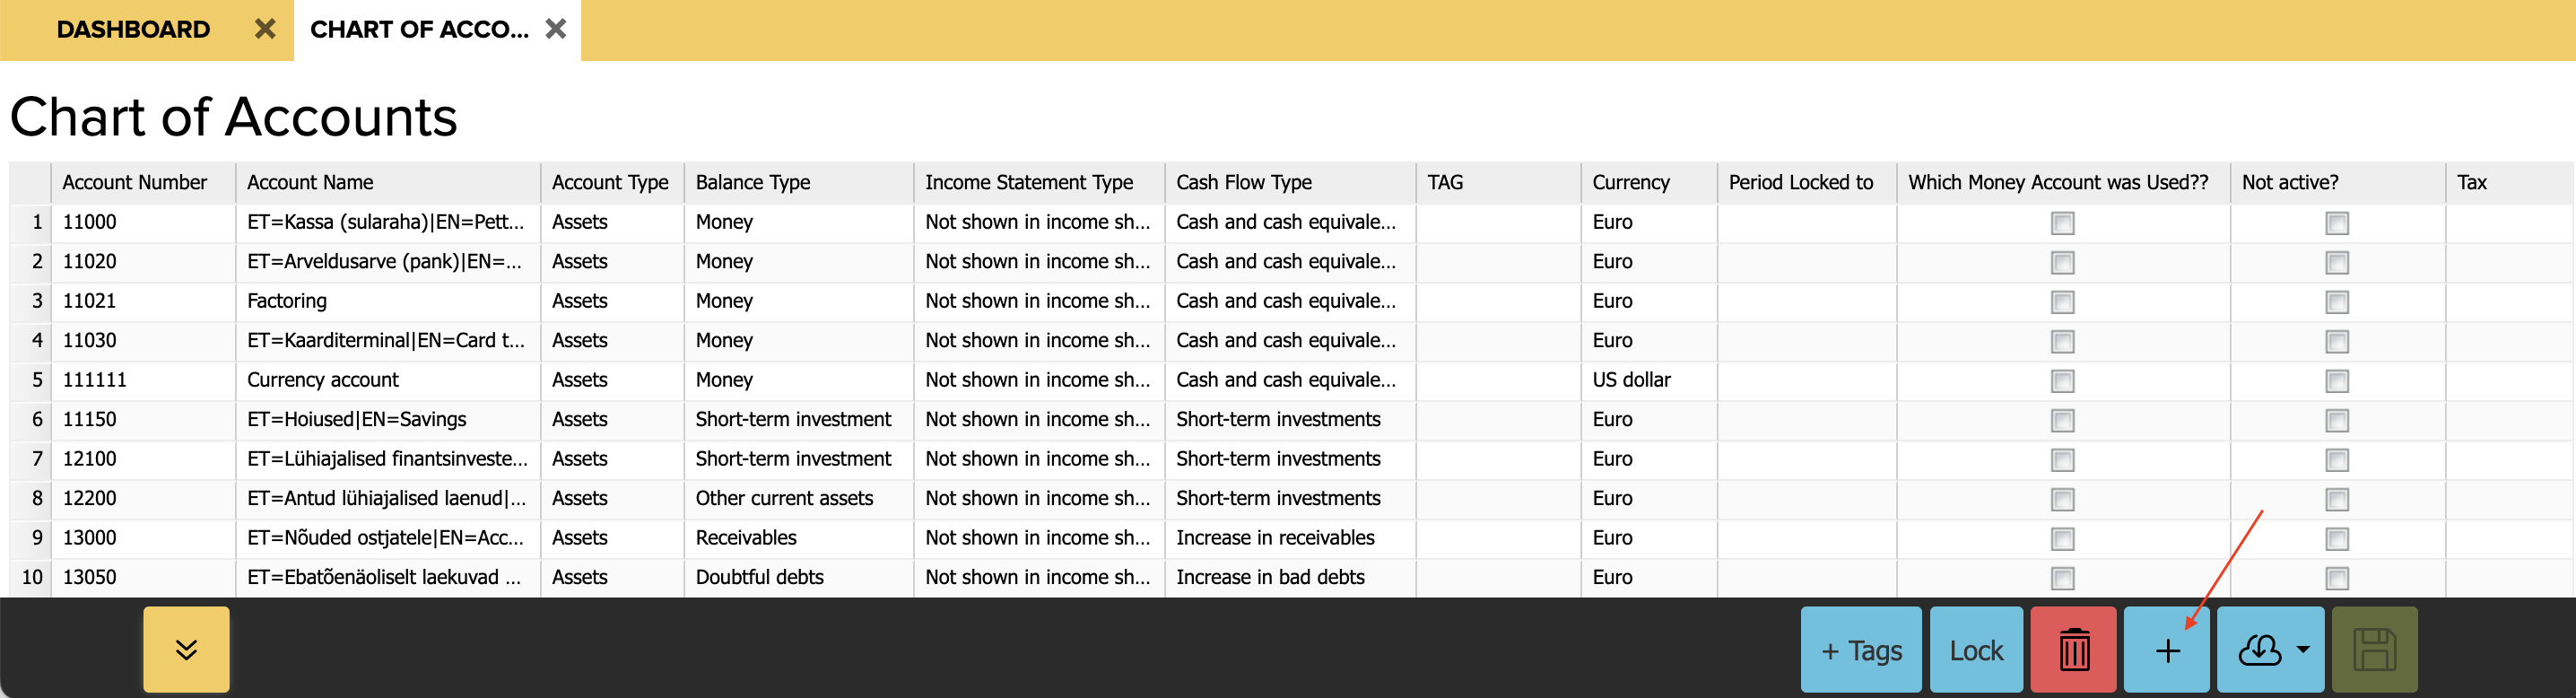
You can see the chart of accounts by going to Accounting -> Chart of accounts in the main menu. All accounts are shown in the module that opens. If you want to add a new account, you can do this by clicking on the ”+” icon in the bottom right-hand corner:
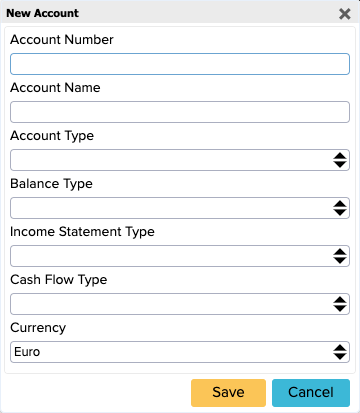
Now a window opens where you have to enter information about the account (account number, name, type etc.):
When all fields are filled in, click on the ![]() button and refresh the page.
button and refresh the page.
If you created a new account and the system didn’t save it, the reason may be that inappropriate types were selected when you tried to create the new account (for example, the balance sheet type or the profit and loss statement type).
Changing the name of an existing account
Changing the name of an account can be done in the same place as adding a new account (Accounting -> Chart of accounts). If you want to change the name of an existing account, double-click on the account’s name.
Change the name and then save the changes.
Deactivating accounts
If you want to deactivate an account, you should first check if the account is in use under System Accounts (Settings -> Initial Data -> System Accounts) or somewhere else. If this account is in use somewhere else, you should first assign another account to replace it and only then can you deactivate the desired account.
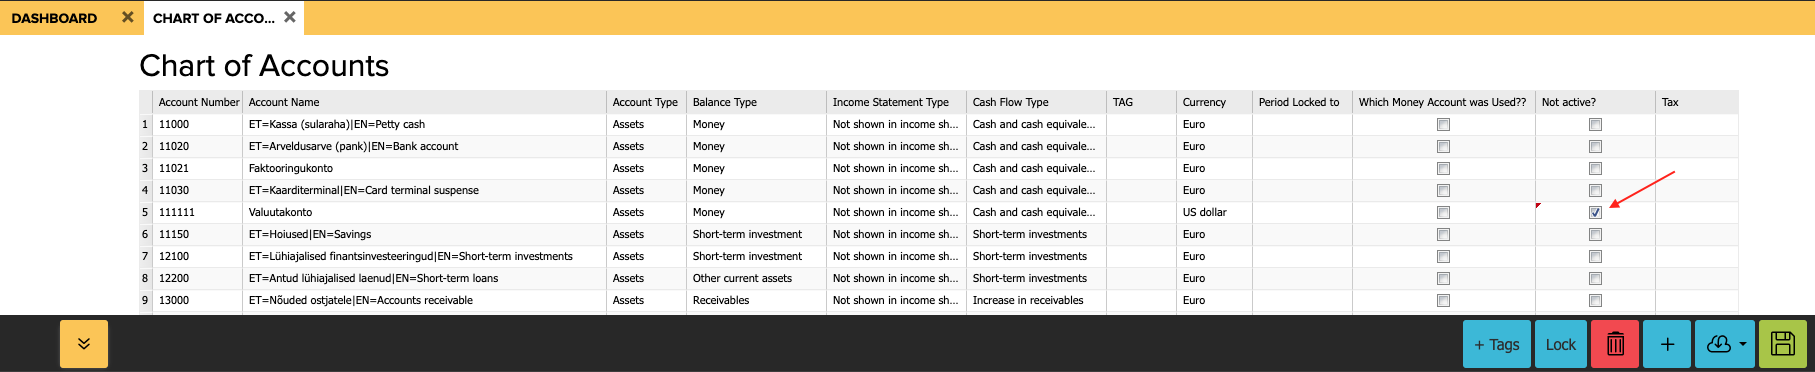
If you want to deactivate an accounting account, you can also do this under the Chart of accounts (Accounting -> Chart of accounts).
- Tick the ‘Not Active?’ box of the relevant account.
- Save the changes
Locking accounts
To lock accounting accounts, you first need to open the Chart of accounts. The next steps depend on whether you want to lock all accounts or just one.
1. If you want to lock one of the accounts, you have to enter the date of locking in the column ‘Period locked to’. You can activate the field by double-clicking on it. Then select the date by clicking on the calendar icon.

If you have chosen the date, then click on the green saving button in the bottom right-hand corner.
2. To lock all accounts, click on the blue ”Lock” button in the bottom right-hand corner.
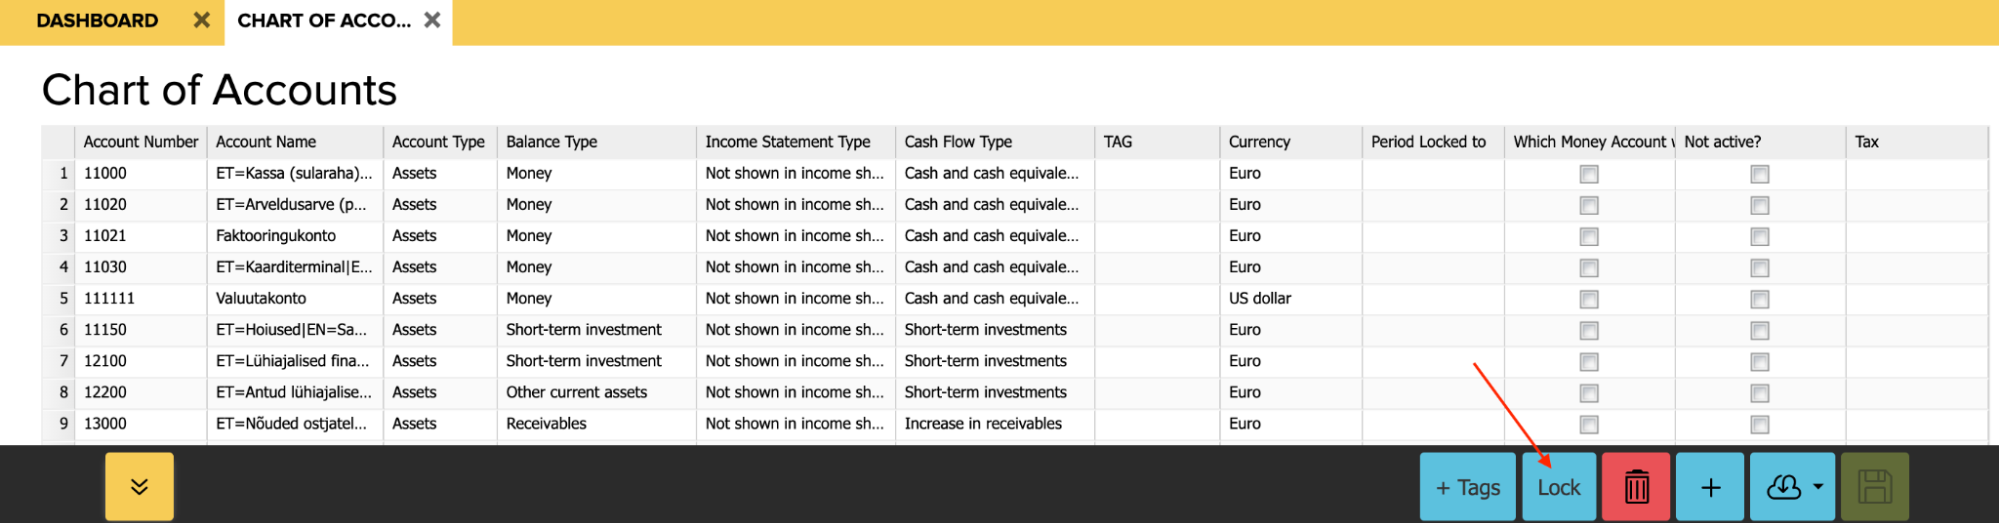
In the opened window select the date you want to lock the accounts to and click on the yellow ”Lock” button.

Then refresh the page and you will now see in the chart of accounts that the ‘‘Period locked until” shows the date you specified in the date field.
Deleting accounts
When you are deleting accounts, please note that you can only delete accounts that are not in use anywhere else (e.g. in the System Accounts). If the account is in use, it is recommended to deactivate the account first. The steps for deactivation are described above.
To delete an accounting account, you first need to go to the Chart of Accounts (Accounting -> Chart of Accounts).
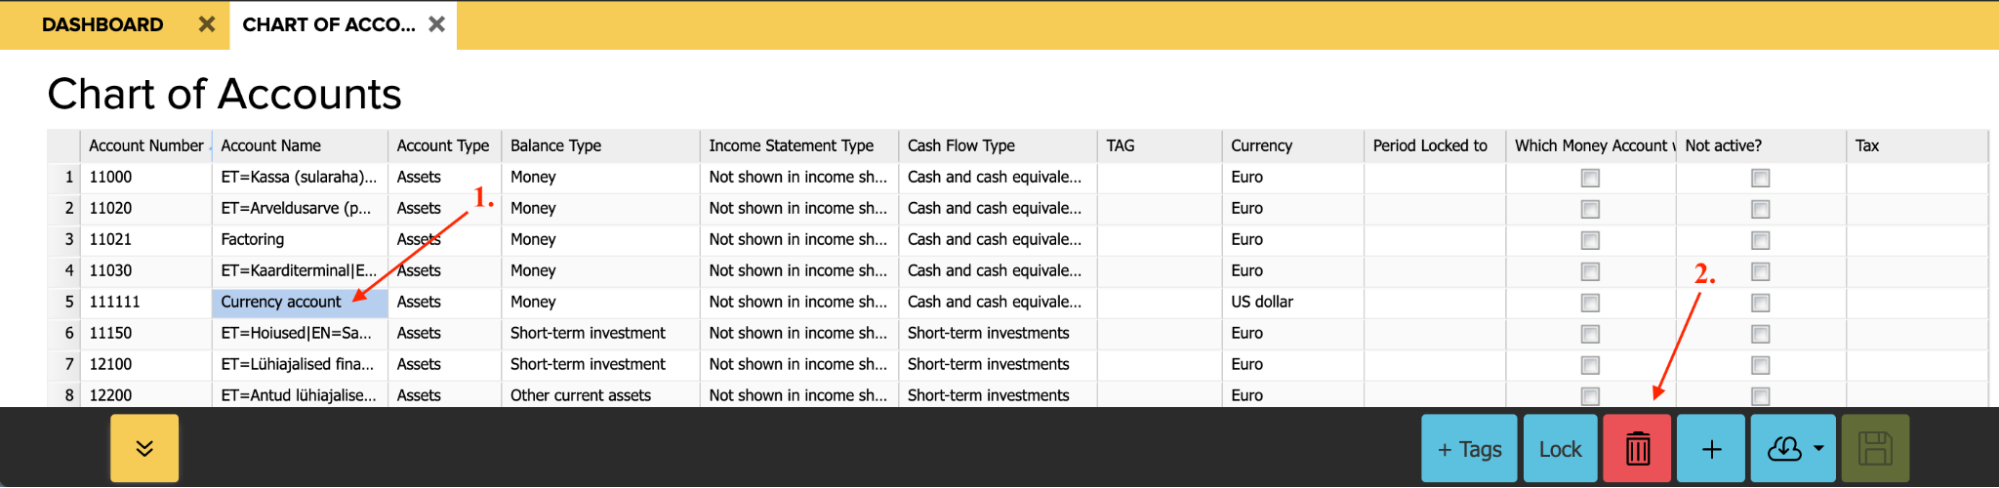
- Select the account (the name box will then turn blue)
- In the menu bar at the bottom of the page click on the red trash button
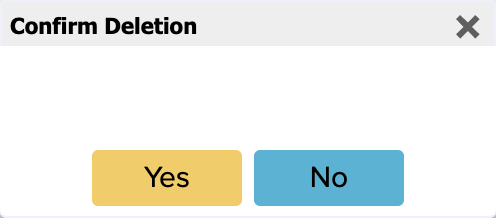
A new window will pop up where you need to confirm the deletion.