Additional options for the invoice row
This manual describes the additional action options for the invoice row which can be configured for using various functions.
These options are:
- Copy row
- Project Splitter
- Add deduction
- Fringe Benefit
- Connect row
Copy row
This subsection describes the option to copy invoice rows on sales and purchase invoices.
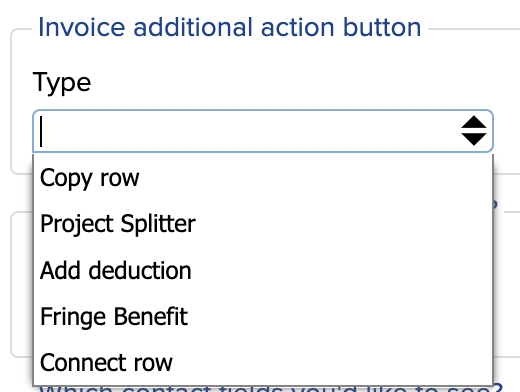
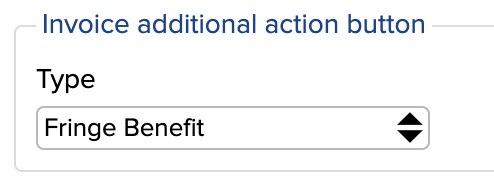
- To configure this, open “Settings -> Configuration” and find “Invoice additional action button”
- Select “Copy row”
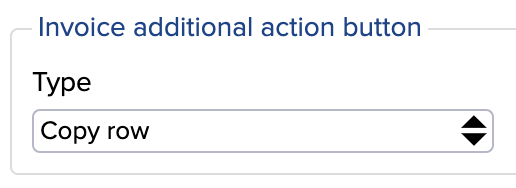
Save the change and refresh the page to apply the changes.
Now, when you open the sales invoice, you will see that a blue dot has appeared at the end of the invoice row and you can copy the row by by clicking on that blue dot:
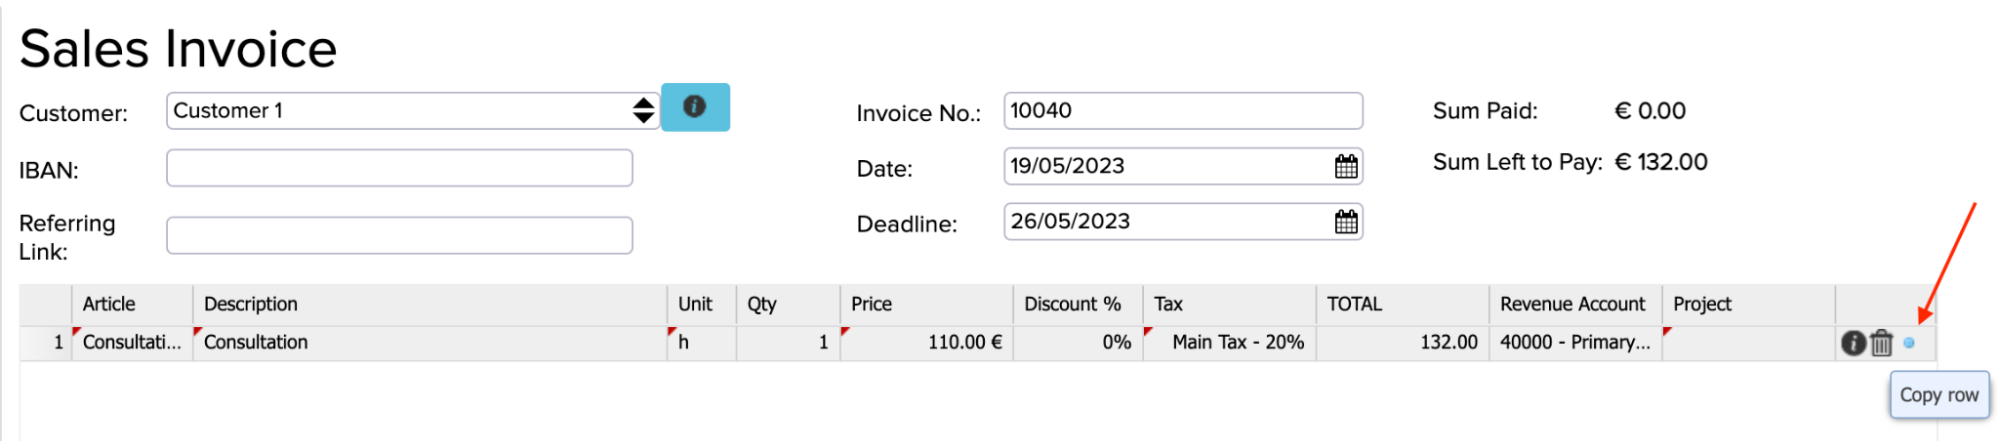
If adding this rule does not result in a blue dot appearing at the end of the invoice row, please contact us at support@erplybooks.com. The reason may be that the invoice row was overwritten by some other rule which needs to be removed.
Project Splitter
The function of the project splitter is that if there are several departments in the company, for example 10 different ones, and some departments are smaller, it is possible to determine that 5% of the overall costs go to the small department, and 50% go to the larger department, i.e. this function divides the costs among the departments.
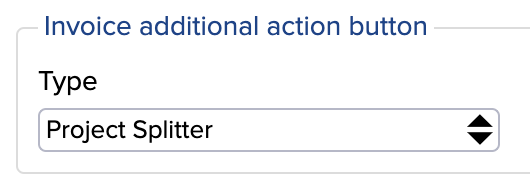
- To configure this, open “Settings -> Configuration” and find “Invoice additional action button”
- Select “Project Splitter”
- Save and refresh the page
Example
For example, you want to create a purchase invoice for a marketing service in the amount of 1,000€ + VAT and divide it by departments, so that 50% goes to the Tallinn department, 20% to the Tartu department, 20% to the Pärnu department and 10% to the Saaremaa department.
Next, you prepare a marketing service purchase invoice:
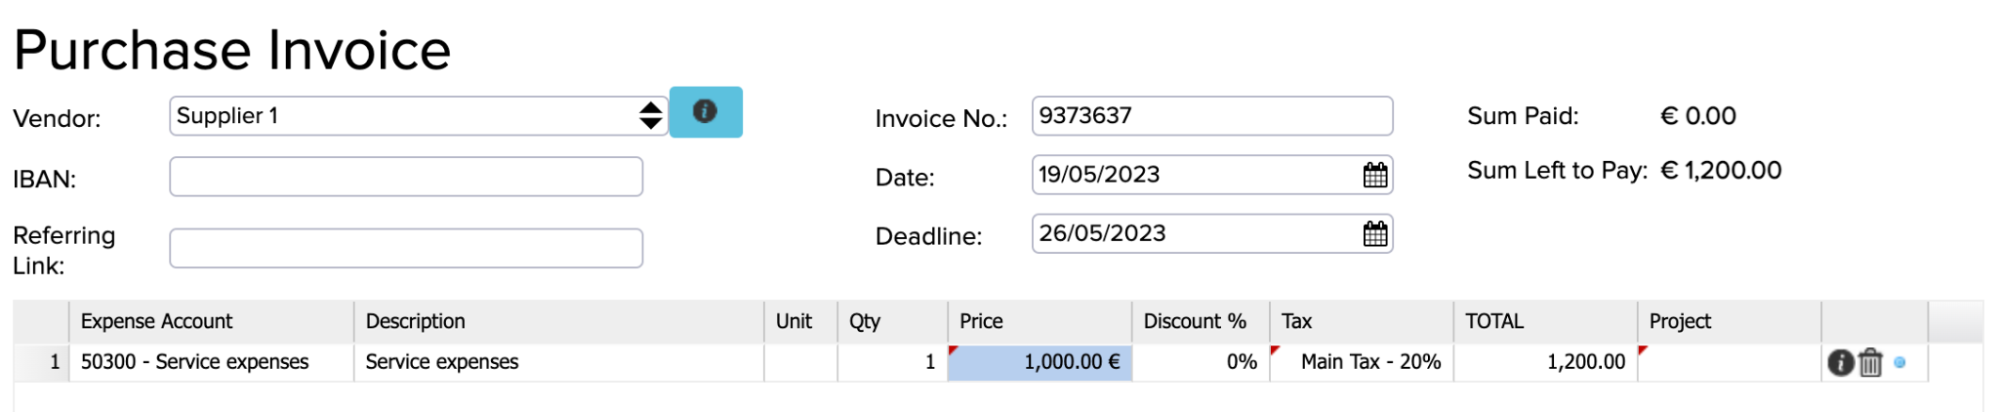
Then, by clicking on the blue dot at the end of the invoice row, the following window opens in which you can add cost splits:

- Select: pre-saved split projects will appear in this selection
- Add: there you can add different cost splits by project
Example
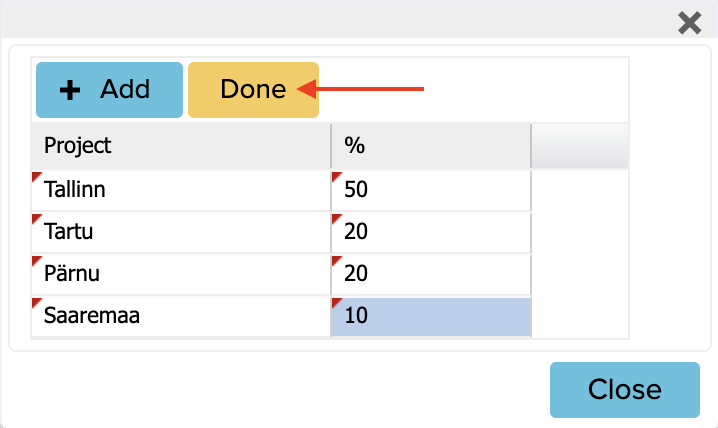
To add a new row, press the “Add” button, and if you have added the distribution of costs by project, press the yellow “Done” button. You will then be redirected back to the first window and the cost split will be displayed.
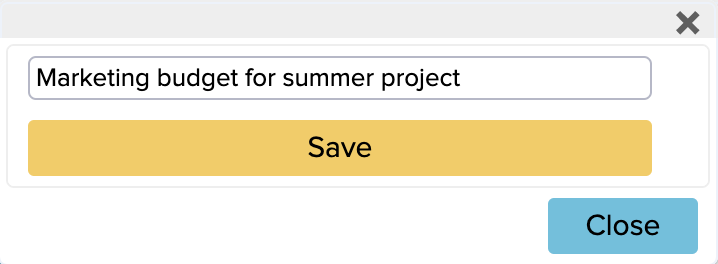
If you want to save this distribution of costs by project in order to use this distribution again next time, click the blue “Save” button:
Insert a suitable name for this set of splits and press “Save“.
Now you have the opportunity to choose between the saved distributions from the “Select” box next time:
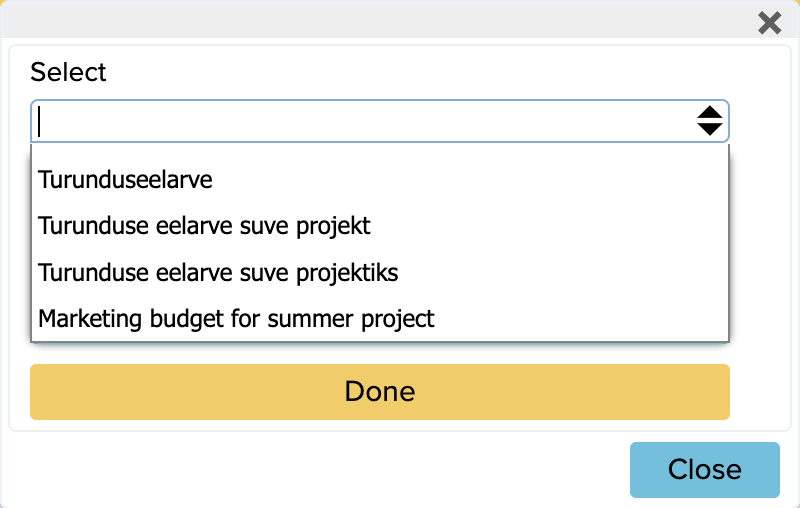
At the very end, it is necessary to press the “Done” button in the first window so that the distribution of costs would be shown on the rows of the invoice:
It is also possible to divide the rows of departments into two projects, i.e. two project groups can also be selected, they just have to be added separately.
Add a deduction
Next, we are going to describe how it is possible to add a deduction on the invoice row on sales and purchase invoices. The purpose of the function is that it is possible to determine a certain part of the invoice amount for which VAT is calculated.
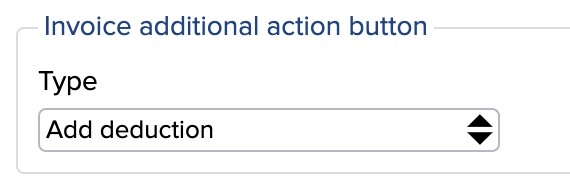
To set it up, go to Configuration (Settings -> Configuration) and look for the “Invoice additional action button”. From there, select “Add deduction” and save and refresh the page.
When you now open the invoice and fill in the invoice information, there is a blue dot at the end of the row:
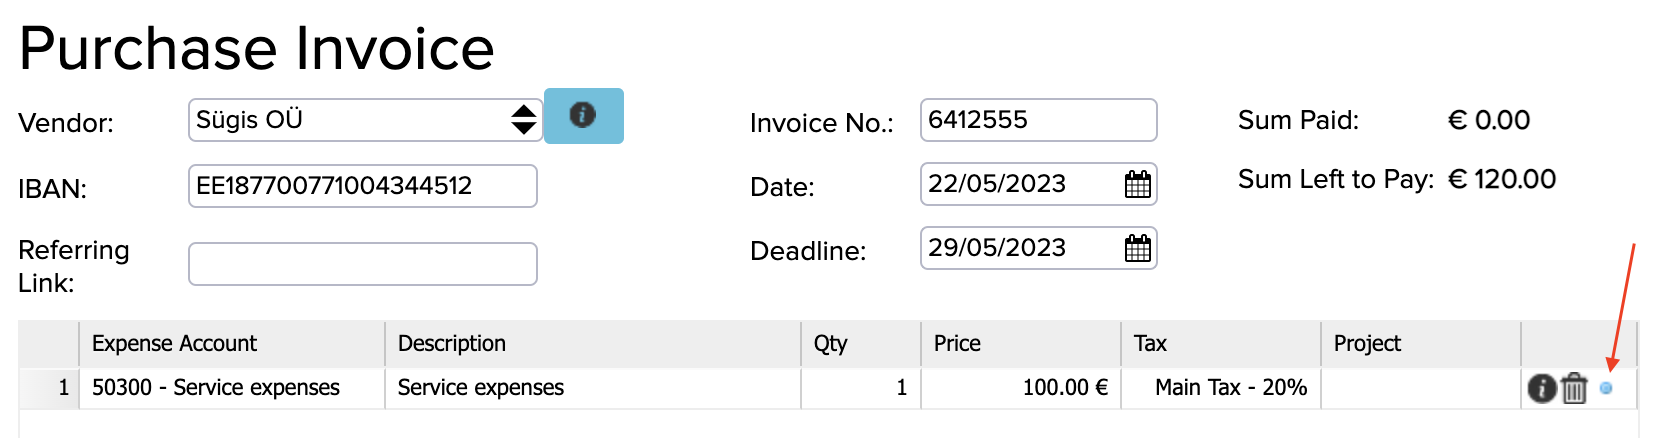
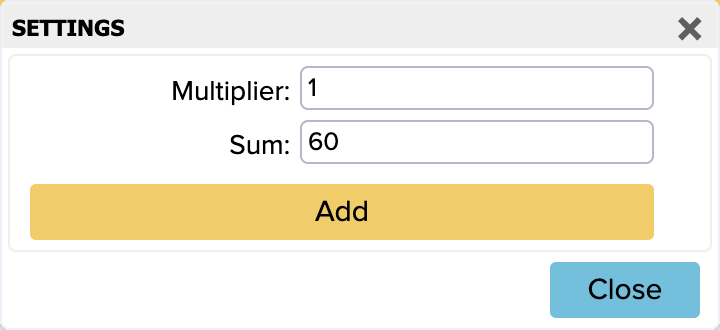
For example, the invoice is €100 + VAT (the amount of the invoice is €124), but VAT can only be calculated for €40, i.e. the deduction is for €60 + VAT. By clicking on this blue dot, you can set the deduction amount in the “Sum” field.
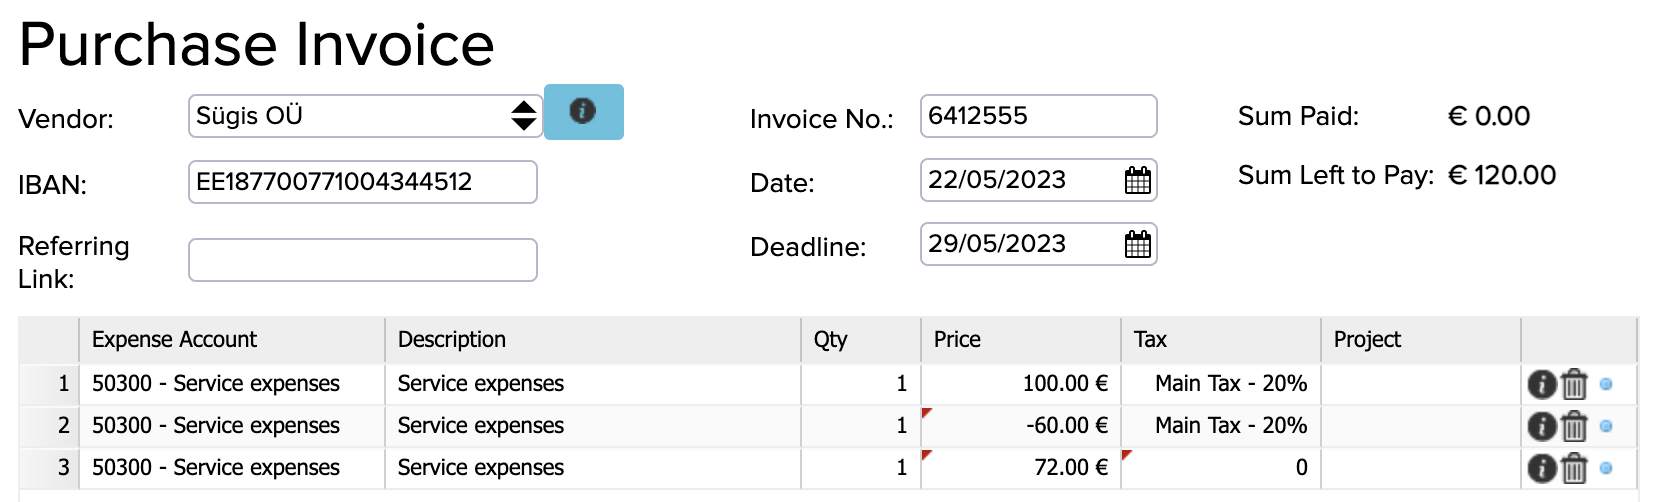
Then, if you press the “Add” button, two rows will be added to the invoice as deductions:
- -60€ + VAT
- 72€ with 0% VAT
Fringe Benefit
NB: This functionality does not declare anything, it just makes correct transactions!
To set it up, go to Configuration (Settings -> Configuration) and look for the “Invoice additional action button”. From there, select “Fringe benefit” and save and refresh the page.
In addition, two rows need to be added under system accounts (Settings -> Initial Data -> System Accounts) where you have the following:
- Expense account for social tax:
System account type = Other system account
Account Number = choose yourself
Identifier = ESTONIAN_SOCIAL_TAX_EXPENSE
- Debt account for social tax:
- System account type = Other system accountAccount Number= choose yourself
Identifier = ESTONIAN_SOCIAL_TAX_LIABILITY
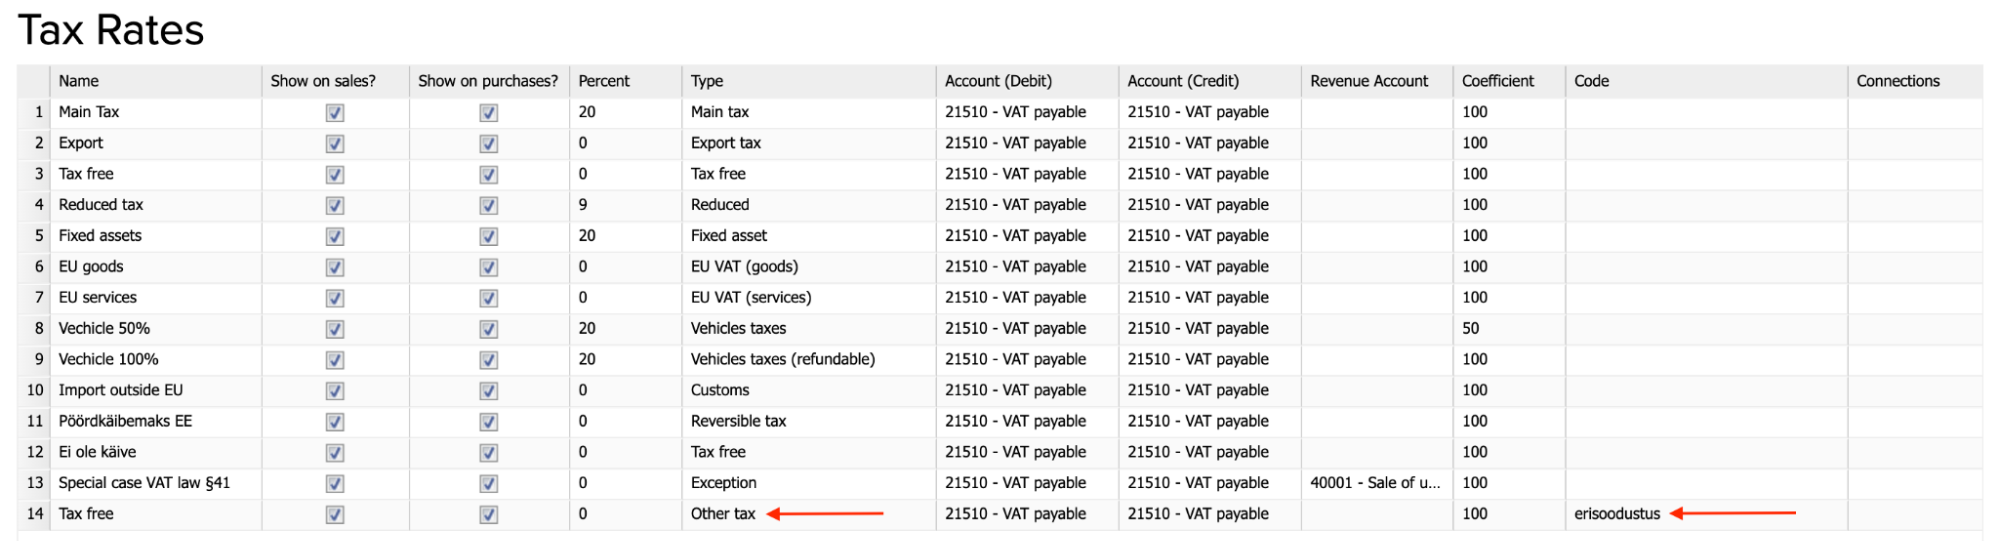
Additionally, if you want to use this functionality, it is important that the corresponding VAT is also added under Tax Rates (Settings -> Tax Rates).
To do this, add a new VAT row under tax rates, where:
- Type = other tax
- Code = erisoodustus (this remains in Estonian as a code name)
Now if you use this “Fringe Benefit” function on the invoice, i.e. by pressing the blue dot at the end of the row, it creates additional transactions for a fringe benefit but the amount of the invoice is still €100 + VAT.
Connect row
With this function, it is possible to connect real rows with real invoice rows in the contracts module. For example you agree to buy aluminum at price X, quantity Y during the following week – you will determine this in the contract and wait for the goods to be linked to the contract later.
This is a functionality requiring implementation. Please contact support@erplybooks.com with implementation requests.