Adding a New Bank Account
1. Add a new accounting account
To create a new bank account, you first need to add a new account. From the top menu, select “Accounting” → “Chart of Accounts”.
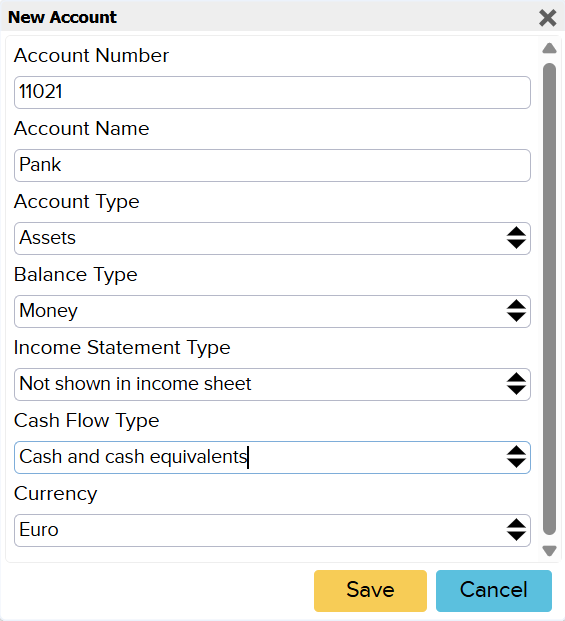
When the chart of accounts opens, click the “+” button to add a new account.
After entering all required information, click “Save.”
2. Add the new bank account
To add a bank account, navigate to “Settings” → “Organisation Data.”
On the page that opens, click “Add Bank Account.”
A window will appear where you can enter all necessary details for the new bank account. Once completed, click “Save.”

The “Default” button in the bank account list indicates which account will be used as the default for incoming payments. You can change the default account at any time.
When creating payments, you can also manually select a different account – even if it is not set as the default.
To adjust this, go to “Settings” → “Initial Data” → “System Accounts.” Select the desired account (Bank Account) and click the account number to assign it as the new default.
Once this account is set up, it will be available when generating payment files.
3. For ERPLY users
NB: Every payment method your customers can use must have a corresponding “receipt method” in ERPLY . Without this, you can’t link it to an accounting account.
For example, if you have bank accounts in Swedbank and PayPal, you’ll need a separate receipt method in ERPLY for each of them.
Add a new receipt method in ERPLY
To configure receipt methods correctly, go to:
“Settings” → “Configuration” → “Invoice Settings” → “Payment types”
Here you can define the receipt method and system code. Once finished, click “Save.”
Link the receipt method to an accounting account
In ERPLY Books, go to:
“Settings” → “ERPLY POS & Inventory Settings” → “Account Mapping.”
Click the “Account Number” field and select the account you created earlier in the chart of accounts.
All payments associated with this receipt method will then be posted to the selected account.
Have you already used this account for earlier transactions?
If you have previously used this account and want those transactions to be reflected correctly in Books, use the bulk editing.
This allows you to:
- fix past mistakes
- reassign entries
- change accounts on multiple invoices at once
- update multiple accounting entries in one action
4. What if ERPLY Books does not support your bank type?
ERPLY Books supports:
- all EU banks (ISO XML format)
- USA, Canada, South Africa, Australia (QIF & OFX formats)
- all Estonian, Latvian, Lithuanian banks (CSV format)
- UK banks (ISO XML format)
- PayPal and Support payment files
If your bank type is not supported, you can create and upload your own custom CSV file.
The following guide explains how to format and adjust your bank statement as needed.