Adding a new department
1. Adding a new department
A new department can be added in the ERPLY environment via “Warehouses”. In ERPLY Books, open “Settings” > “ERPLY POS & Inventory Settings” and click the “Synchronize Warehouses as Projects” button. This performs a one-time synchronization. If you want newly added departments to be synchronized automatically on a regular basis, click “Other Options” and check “Synchronize Locations Automatically?”. Then, any newly added departments will be synchronized each time your automatic synchronization runs.
2. User permissions for the new department
Once a new warehouse is added, the accountant associated with it will automatically see the information linked to that warehouse by default. To allow, for example, a department manager to view the department, you can link users to projects. Go to “Settings” > ”Users” > ”Add User” and in the window that opens, assign a role and a project. For details on the different user roles, refer to the following manual.
3. Assigning accounts per warehouse
If you want to assign accounts on a per-warehouse (project) basis, go to “Settings” > “Initial Data” > “System Accounts”. The possible account types are:
- Department Cost of goods sold account(s)
- Department revenue account(s)
- Department VAT debt account(s)
- Department warehouse account(s)
- Department Payables account(s)
- Department Receivables account(s)
- Department Point of sale account(s)
- Department Bank card account(s)
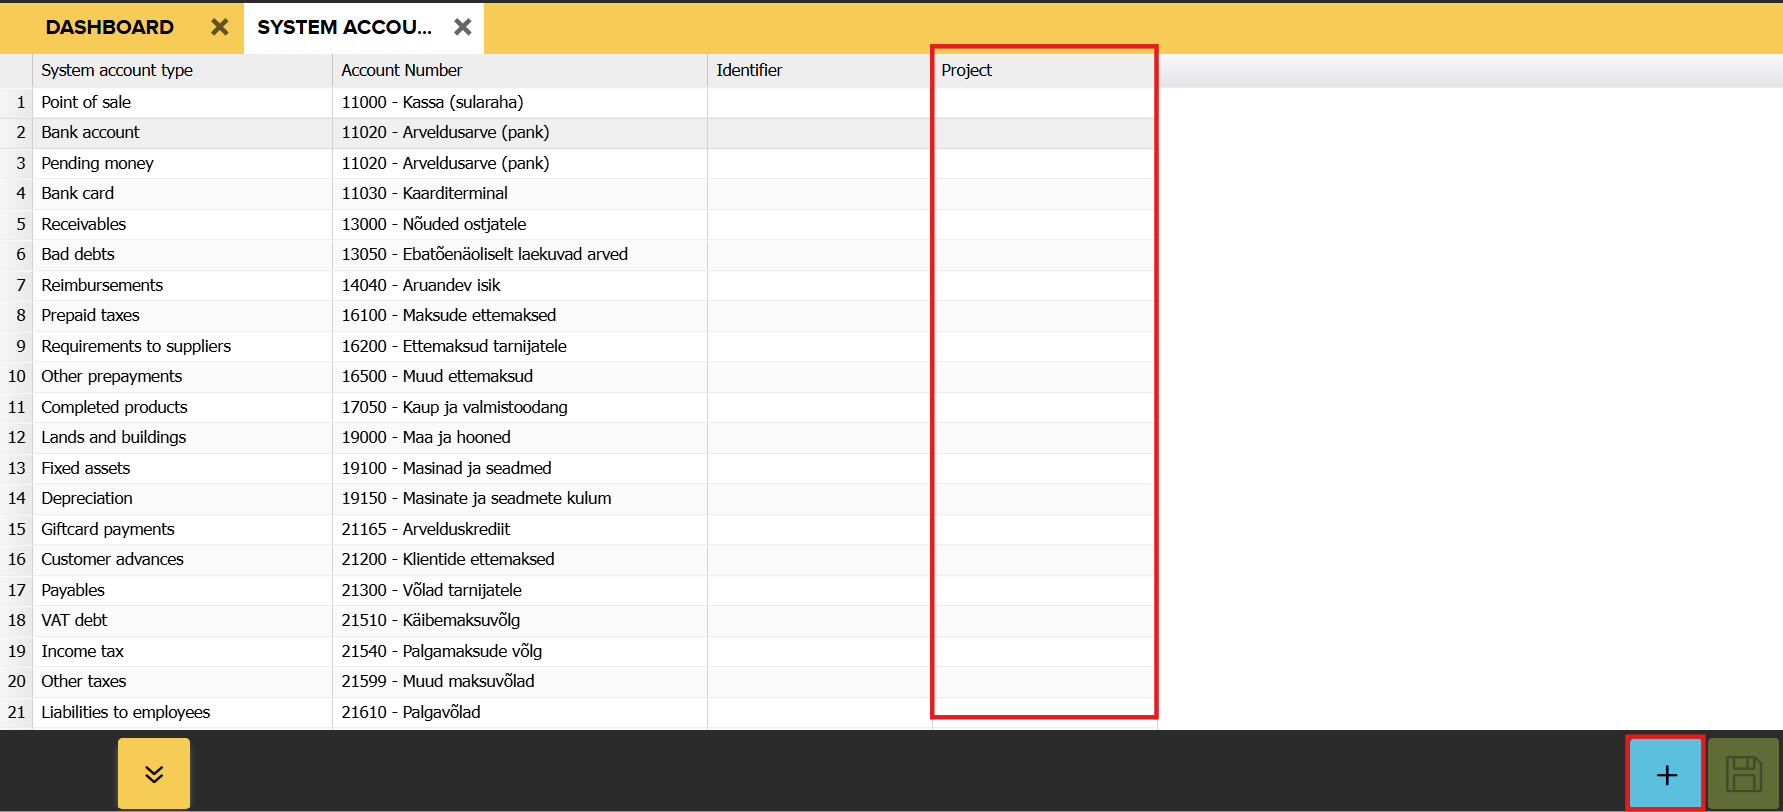
In the ERPLY Books System Accounts module, you can assign the appropriate Project (Warehouse) to each account. To add a new account, click the blue “+” button in the lower right corner to create a new row. Then select the account and the project. Once you have assigned department-specific accounts, each synchronization will automatically assign the transaction-related accounts according to the department of the transaction.