Editing data in Report Generator
The Report Generator allows you to bulk edit various data types in your accounting system. This tutorial covers how to edit records directly, find and fix data errors and make changes across multiple organizations.
The Report Generator supports editing the following data types:
- Invoices (including document rows)
- Payments
- Contacts
- Chart of Accounts
- Tax rates
- Dimensions/Projects
- Project groups/Dimension groups
- Articles and attributes
- Transactions (including General Ledger entries)
Important: When editing invoices or transactions, you must also select the related rows (document row for invoices, General Ledger for Transactions) to edit debits, credits, and line items.
Basic Editing: Tax Rates Example
This example demonstrates how to edit tax rate descriptions.
Steps:
- Open the Report Generator and select Tax Rates (Tables)
- Select output fields:
- Tax rates.ID
- Tax Rates.Description
- Tax Rates.Percentage
- Tax Rates.Tax rate type
- Add the following filter (Add filter):
- Parameter: Tax Rates.Deletion Date; Type: is Empty
- Click Search to display the results
- Click Edit
- Make your changes directly in the table (e.g., change “MOSS” to “OSS”)
- Click Save
- Click Done to complete the process
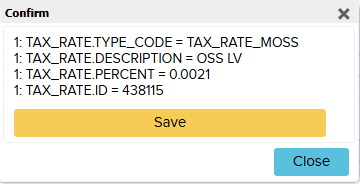
- The system will show you what will be edited
- Click Save again to confirm

Additional options in Edit mode:
- Add new records: Copy and paste from Excel, or click the down arrow to add a new row
- Delete records: Use the delete option for existing entries
- Search again: After saving, search again to verify your changes took effect
Finding and fixing data errors
The Report Generator can help you identify and correct data inconsistencies across your records.
Example: Finding EU Customers Without VAT Numbers
This scenario identifies customers in EU countries who were invoiced with EU tax rates but lack VAT numbers – a data error that needs correction. When selling to EU customers with zero-rated VAT, they must have a VAT number. If a customer is in an EU country but has no VAT number, it indicates a mistake in your contact records.
Steps to find and fix:
- Open Report Generator and select:
- Invoices
- Contacts
- Document row
- Select output fields :
- Contacts.ID
- Contacts.VAT Reg No
- Contacts.Name
- Add Shows on Groups: Contacts.ID to avoid duplicates
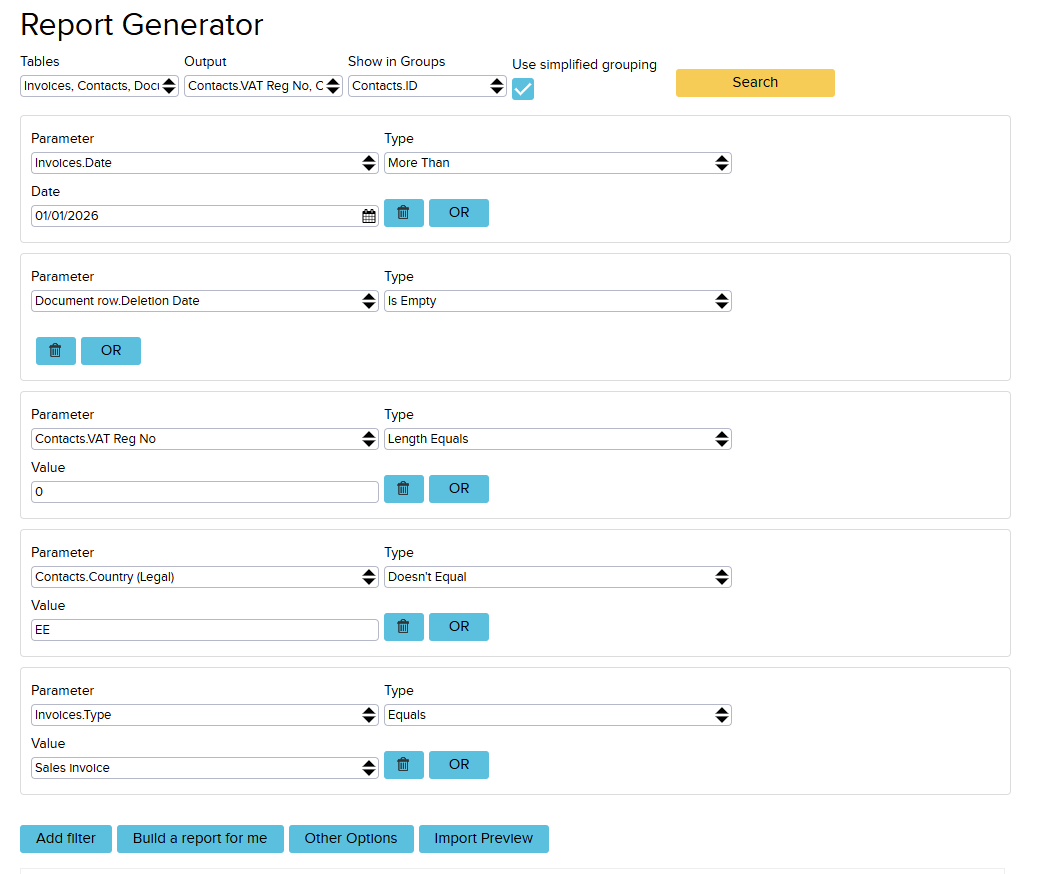
- Add the following filters:
- Parameter: Invoices.date; Type: More Than; Date: 01/01/2026
- Parameter: Document row.Deletion Date; Type: is Empty
- Parameter: Contacts.VAT Reg No; Type: Length Equals; Value: 0
- Parameter: Contacts.Country(Legal); Type: Doesn’t Equal; Value: EE
- Parameter: Invoices.Type; Type: Equal; Value: Sales Invoice
- Click Search
- The results show customers with missing VAT numbers
- Click Edit to enable editing
- Enter the missing VAT numbers directly in the table
- Click Save
- Search again to confirm no more errors exist
Editing across multiple organizations
If you manage multiple organizations, you can make bulk changes across all of them simultaneously.
Example: Changing Account Names Across Organizations
This example shows how to change an account name from “Kassa” (Estonian) to “Cash” (English) across several organizations.
Steps:
- Open Report Generator and select tables: Chart of Accounts
- Select the following fields (Output):
- Chart of Accounts.ID
- Chart of Accounts.Account Number
- Chart of Accounts.Name
- Chart of Accounts.Organization (ID) (required when editing multiple organizations)
- Go to Other Options and check All Organizations
- Add filters:
- Parameter: Chart of Accounts.Name; Type: Equals; Value: Kassa
- Parameter: Chart of Accounts.Deletion Date; Type: Is Empty
- Click Search
- Review the results showing all instances of “Kassa” across organizations
- Click Edit
- Change all instances to “Cash”
- You can type directly in cells
- Or copy and paste from Excel for bulk updates
- Click Save
- Click Done to finalize
Important: You must include Organization ID when editing across multiple organizations. Without it, the system cannot determine which organization’s records to update.
