WooCommerce integration
The WooCommerce integration with ERPLY Books allows you to synchronise orders, customers and products in ERPLY Books and easily manage the product ordering process in ERPLY Books.
How the integration works?
ERPLY Books is easy to use but very powerful accounting software. By selling your products through the WooCommerce platform, you can easily manage payments and create sales invoices for orders from ERPLY Books. The integration is designed for customers who do not need a warehouse, but can manage the ordering process and do all the rest of the accounting in ERPLY Books.
All e-shop orders go like this:
- (WooCommerce) The customer wants something and visits the website – all products go through WooCommerce, i.e. ERPLY Books takes the product information from WooCommerce and not the other way around.
- (WooCommerce) the customer confirms the order;
- (WooCommerce, ERPLY Books) Next, we wait for the payment to go through. If the customer pays through WooCommerce with a credit card, then WooCommerce manages the transfer. If the customer pays by bank transfer, it can be managed through bank imports in ERPLY Books.
- (ERPLY Books) Once the order has been received, you can pack the goods / provide the service and create an invoice for the order. To do this, you can extract orders from ERPLY Books that have been paid but not invoiced.
- (ERPLY Books) If the customer has complaints or other inquiries, these transactions can be tracked in ERPLY Books – create a credit note, return money, etc.
- (ERPLY Books) If an order was not submitted successfully, it can be cancelled on the ERPLY Books side (change status to failed).
How to connect?
NB! If you have an intergation with Erply inventory then you have to connect WooCommerce through Erply.
When ERPLY Books and WooCommerce are ready to use, a connection must establish between them.
First, log in to WooCommerce. Open settings and add a new API token for ERPLY Books. Under “Settings“, select either “API” or “Advanced” (depending on the version):
- For “API“, check “Enable the REST API“
- For “Advanced”, select “REST API” and press “Add key”
You can now create a new key. Fill in the following three fields: add a description (for example, ERPLY Books), select the user, select “Read / Write” in the “Permission” field. Then when you press the “Generate API Key” button you will get a security key (Consumer key) and a secret key (Consumer secret).
Now log in to ERPLY Books:
- To create a new account, go to “Accounting” > “Chart of Accounts” and press the “+” button in the bottom right-hand corner. Then create accounts for different methods of receiving (e.g. PayPal, Stripe etc.).
- If you want to sync orders as invoices, enter “Global Parameters” in the search box on the main page. In the opened module, press “+ Add” and enter “GLOBAL_WOOCOMMERCE_SYNC_AS_INVOICE” in the name field and “true” in the value field.
- After establishing the integration, go to “Settings” > “Initial Data” > “System Accounts”. In the opened window you can see the types of system accounts, which lists WooCommerce also. There, it is necessary to change the account number to where the customer wants to receive the payments. Then, press the green save icon in the bottom right-hand corner.
- If an order has been deleted from WooCommerce, it must also be deleted manually from ERPLY Books.
- For automatic synchronisation, enter “Automatic sync for integrations” in the search box on the main page. In the opened module, click “+ Add”, write the desired name in the “Name” box, select “WooCommerce” in the “Type” box. In the “Alignment” box, type the hour when you want the synchronization to take place. The calculation takes place in Irish time and the synchronisation takes place 2 hours later in Estonian time (1 hour later during daylight saving time). For example, if you set the time to 23:00, the synchronisation will take place at 01:00 AM. In the “How many hours” box, type how many hours back you want to sync. For example, if you want the software to always sync the last 3 days, type “72”.
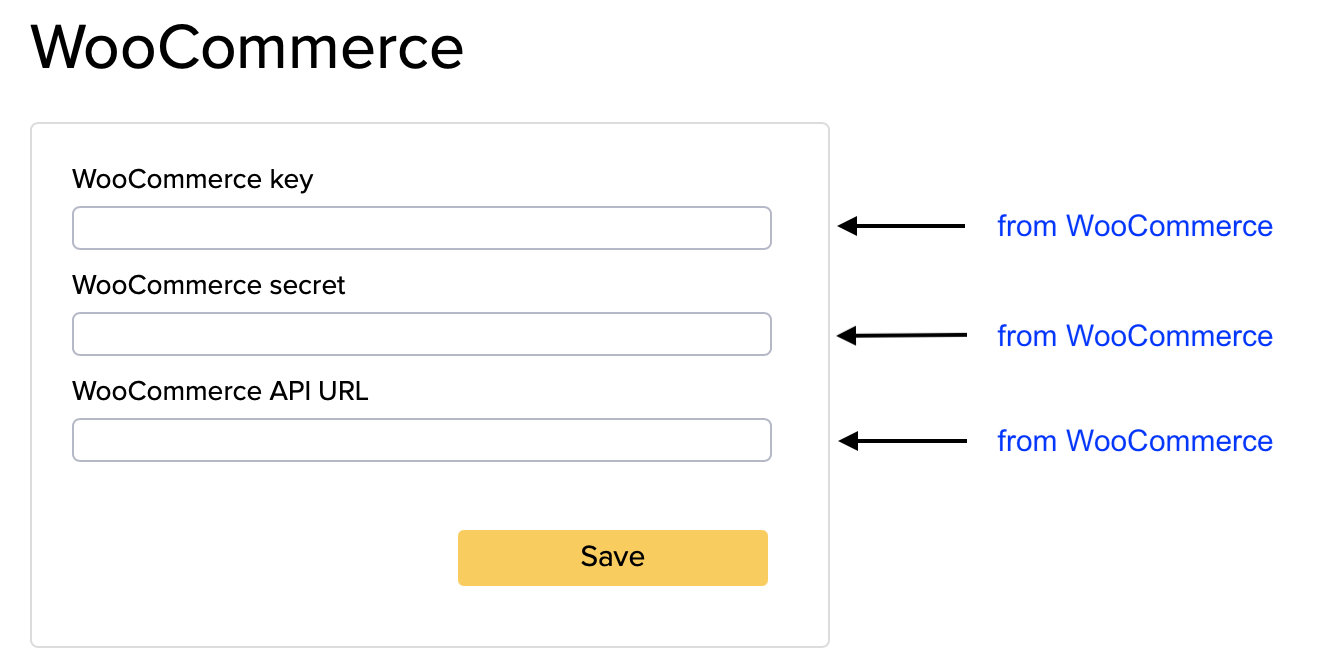
Now, copy and paste these characters into ERPLY Books. Go to “Settings” > “Integrations” and click on the “Manage” button after the WooCommerce icon. In the window that opens, paste the WooCommerce key, secret key and API URL. Then save.
How to sync?
Go to ERPLY Books “Settings” > “Integrations” and click on the “Synchronise” button after the WooCommerce icon. You can then select the time period you want to synchronise.
What is synchronised?
Orders are synced from WooCommerce. You can also synchronise orders as invoices.
Orders and invoices have all the necessary information:
- customer data updates
- order / invoice updates
- all product lines
If you want orders to be synchronised as invoices, add this global parameter to ERPLY Books: GLOBAL_WOOCOMMERCE_SYNC_AS_INVOICE
Type “Global Parameters” in the search box on the main page, add this parameter in the name field, type “true” in the value field, and save.
![]()