Adding files to documents
This manual describes how to add files to different documents in ERPLY Books. This opportunity to add files is available in several modules: you can add files to sales invoices, purchase invoices, transactions, contact cards and contracts.
How to add files?
Adding a file to different documents follows a similar principle and below you can find examples of different documents.
Adding files to documents
You can add a file to a new purchase (sales) invoice or to already added invoices.
- Adding a file to a new purchase invoice
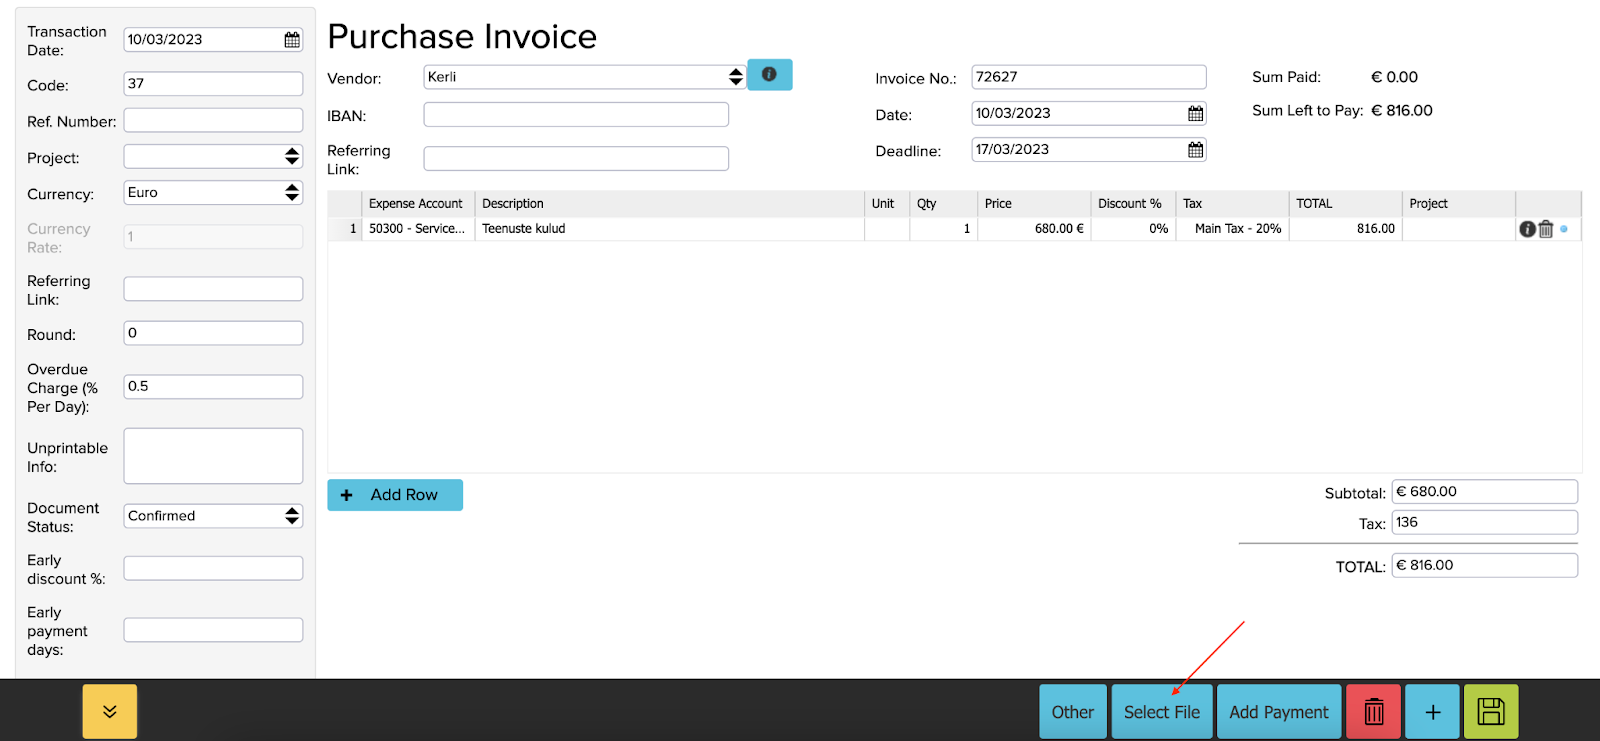
- Open the new purchase invoice (Purchases -> Purchase Invoice (Add New))
- Fill the required fields with the purchase invoice information and click ‘’Select File’’
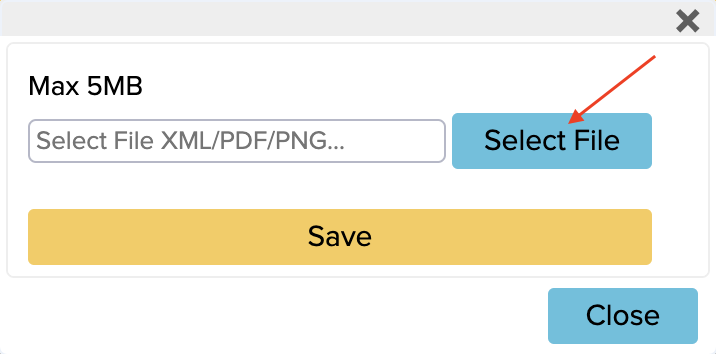
- In the next window click on ‘’Select file’’ again, upload the file you want to add to the document and then click ‘’Save’’.
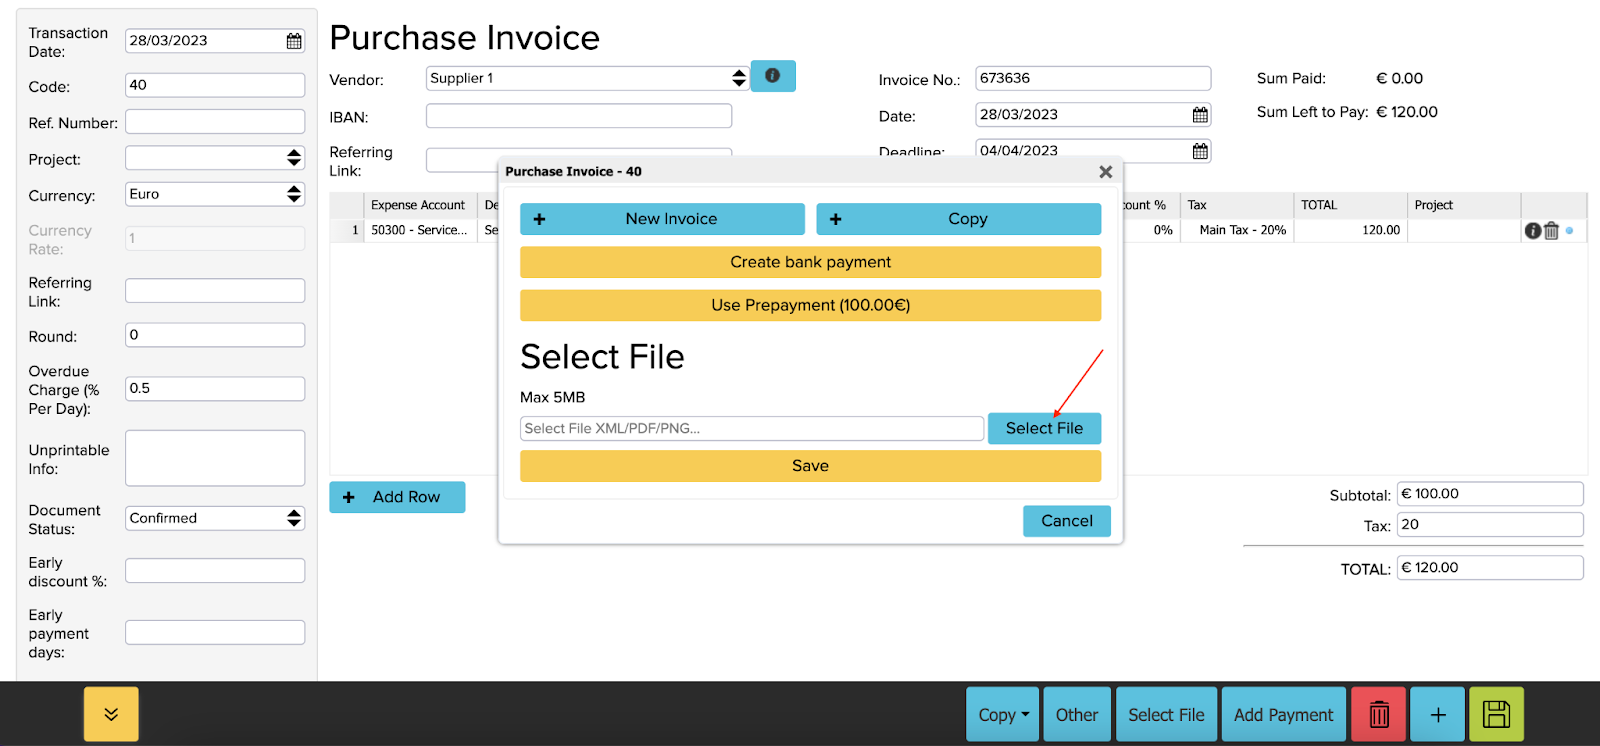
If you do not add a file immediately, but fill in the invoice information fields and save the invoice, a window will appear after saving the invoice where you can add the file directly:
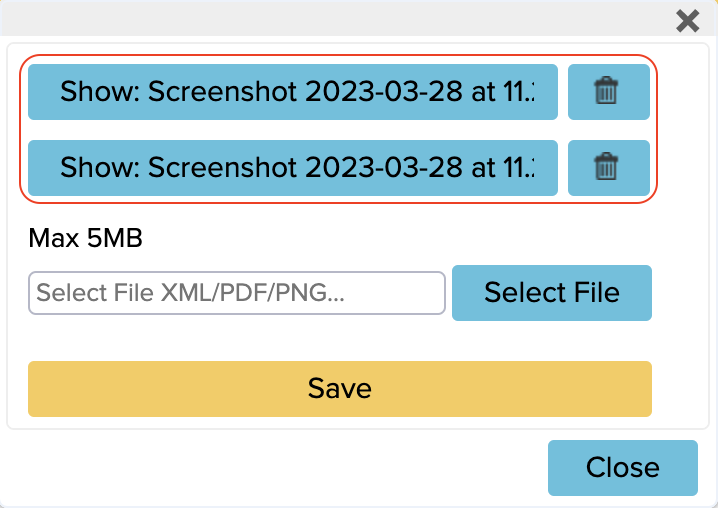
If you want to add multiple files to an invoice, just press ‘’Select File’’ again and upload a new file. In the file uploading window you can also see the previously uploaded files:
File formats are not limited and you can add different file formats (for example pdf, jpg, png, txt, etc.). The maximum size of a single file is 5 MB.
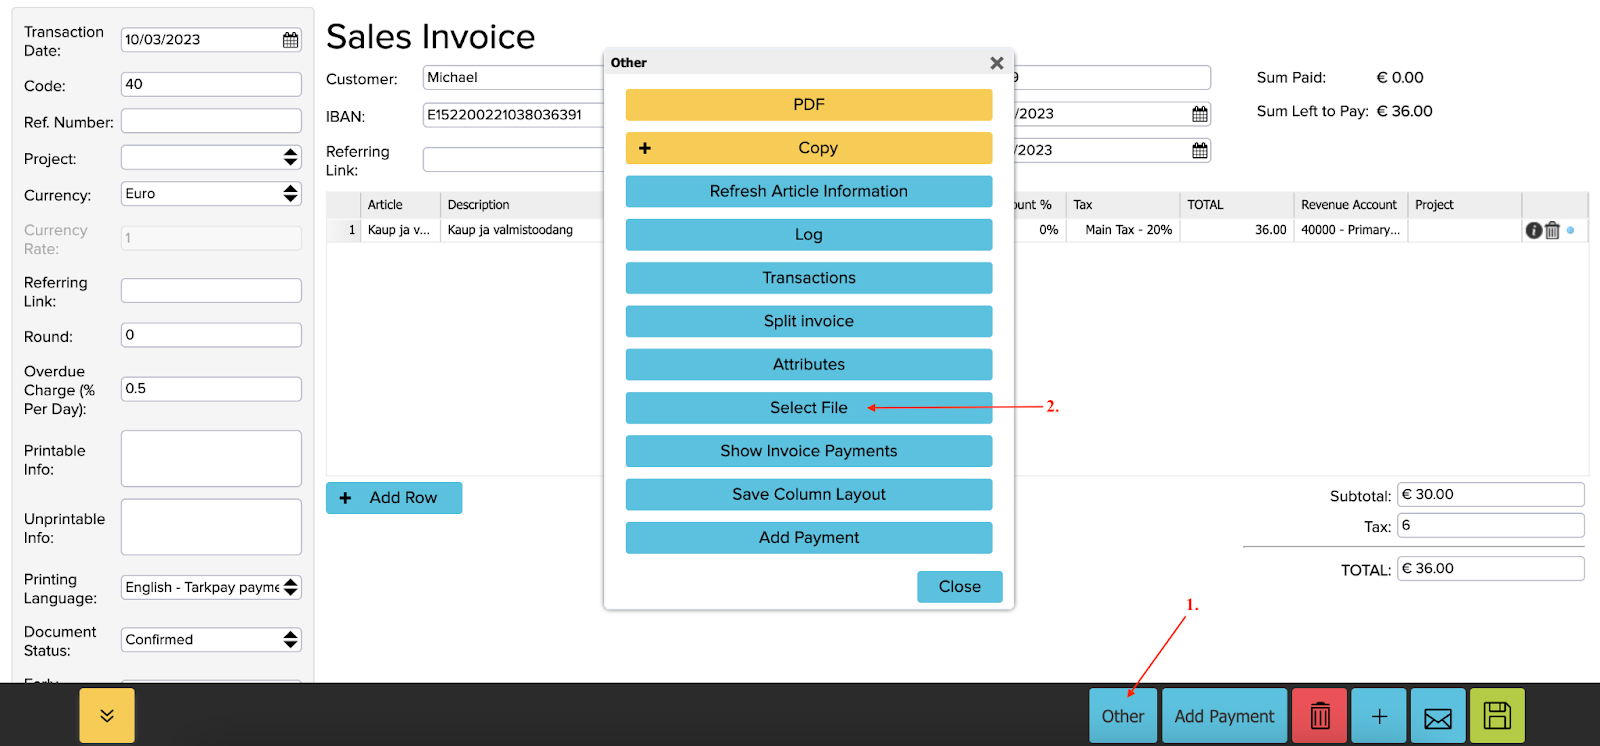
NB! In the case of a sales invoice, you need to save the invoice before adding the file, because otherwise it will not be possible to add the file to the new invoice. To add a file to the sales invoice, first select “Other” and then “Select file”, the following steps are the same as described above.
Added files are not deleted from the document and remain until they are manually deleted.
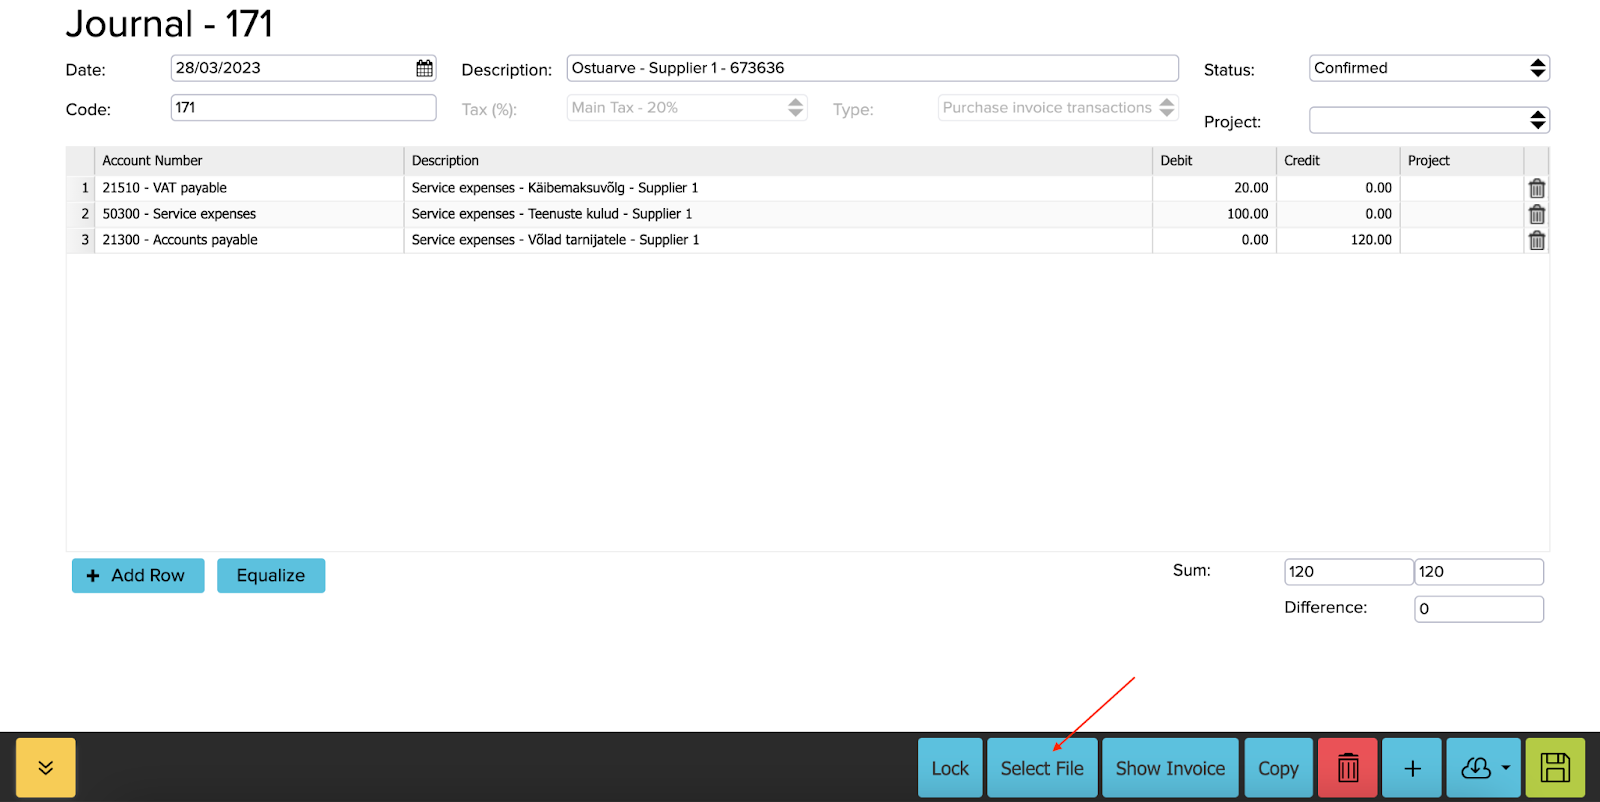
Adding a file to a transaction
If you want to add a file to a transaction, you first need to open the transactions module (Accounting -> Transactions) and double click to open the relevant transaction.
In the menu bar at the bottom you have to press the “Select file” button, and the next steps are the same as for an invoice.
Adding a file to contact card
If you want to associate some kind of file, such as an employment contract or screenshot, etc. with a specific contact, there is an option to add a file under contacts. To do this, open Contacts (Sales/Purchase -> Contacts) and click on the black circular icon in front of the wanted contact’s name. All information about the customer will open, and select “Select file” from the bottom black bar.

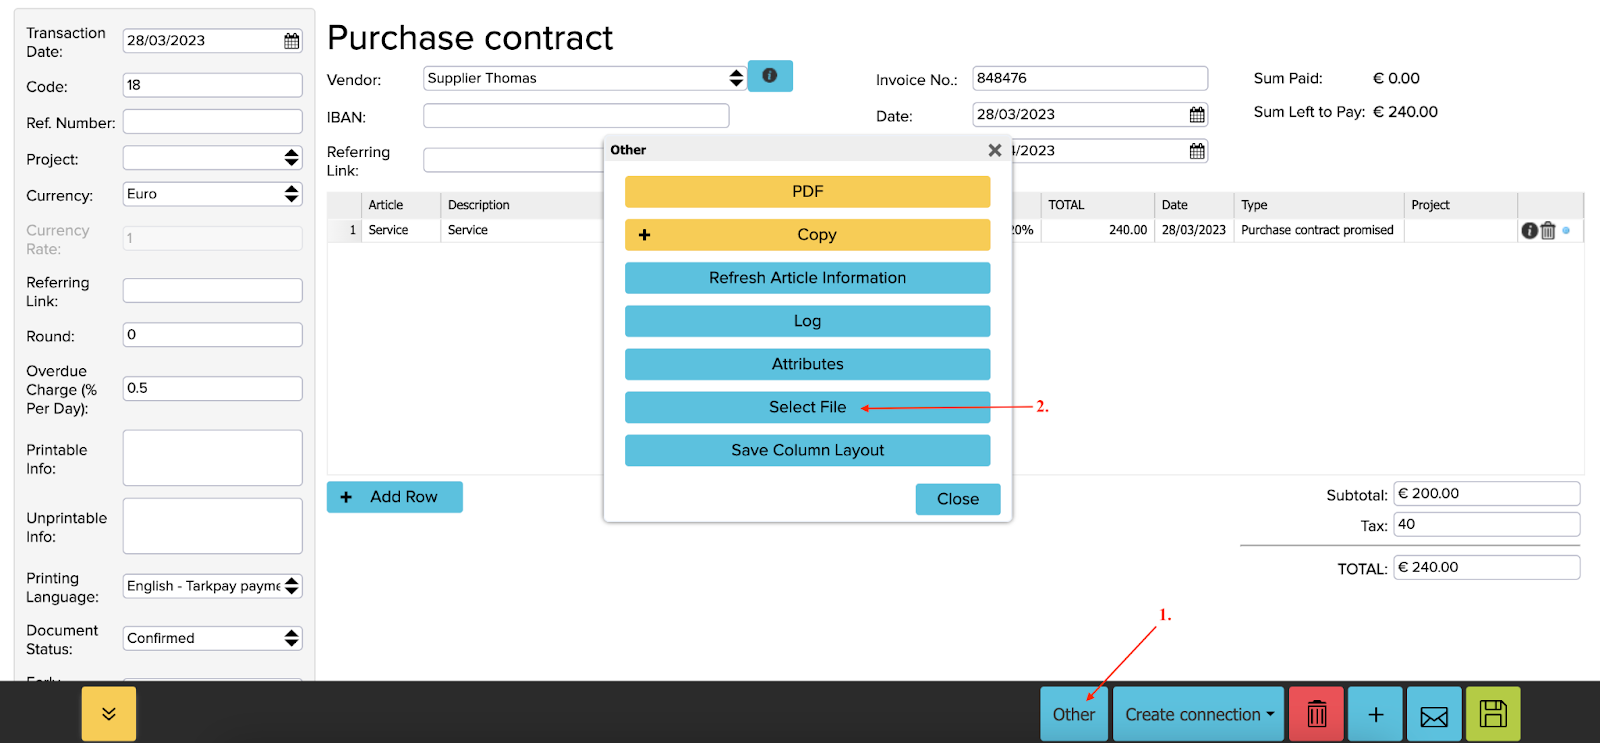
Adding a file to a contract
If you are adding a new contract and also want to add a file to this contract, then first fill in the information about the contract and save. After saving, it is possible to add a file choosing ‘’Other -> Select file’’ on the sales or purchase contract.
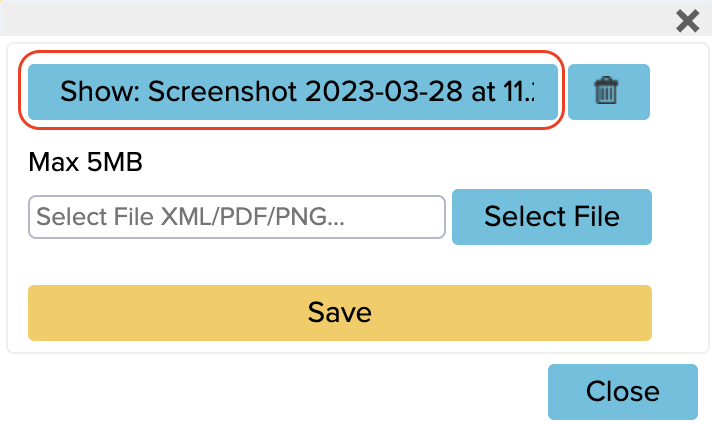
In the next window, you can upload the file by pressing the “Select file” button and then “Save”.

Now a file has been added to the contract. If you want to add several files, you have to select “Select file” again. Previously added files can also be seen in a small window where the file will be downloaded by clicking on it. There is a trash can next to the file name, click on it to delete the file from the contract.
If you want to add a file to an already prepared contract, you need to open the corresponding purchase contract or sales contract under contracts and then add the file in the same way as for a new contract.
You can find more information about the contracts module here.