Inventory
Inventory is used to check warehouse quantities and record actual quantities.
When you click “Inventory” -> “Inventory value report” – a module opens where you first need to select the period (if needed) to be reflected in the report, the project (warehouse) and then click “Search“.
You need to select the start and end dates, which define the period during which the inventory count took place and for which data is being entered.
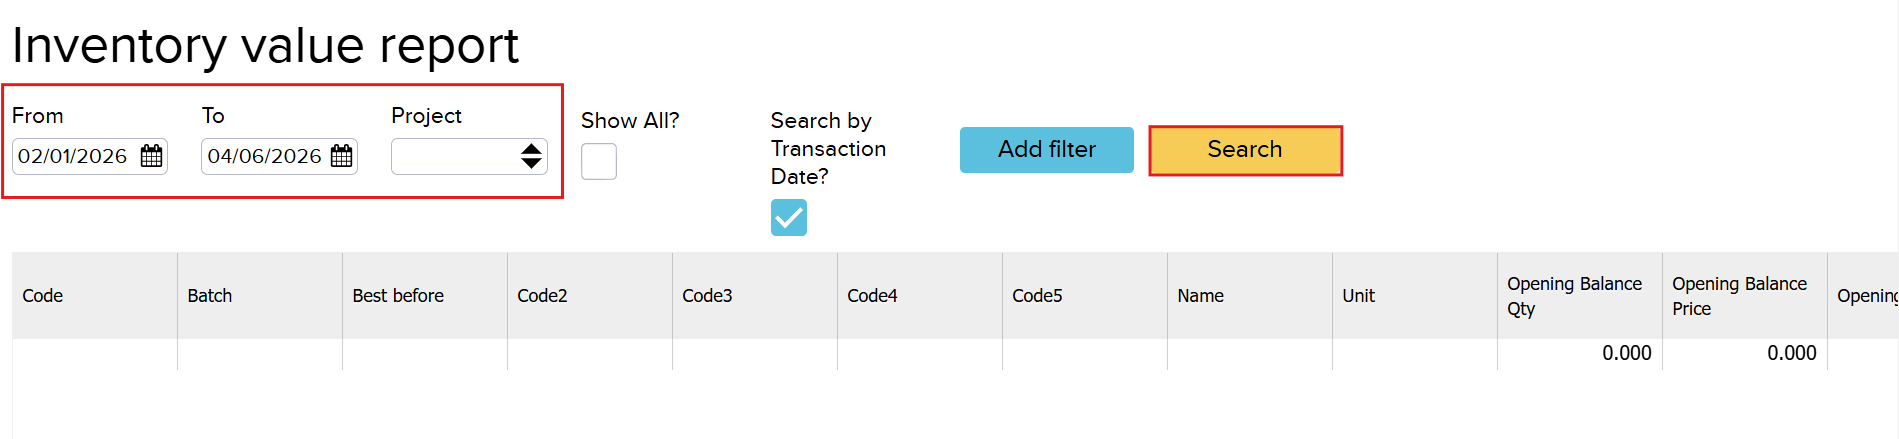
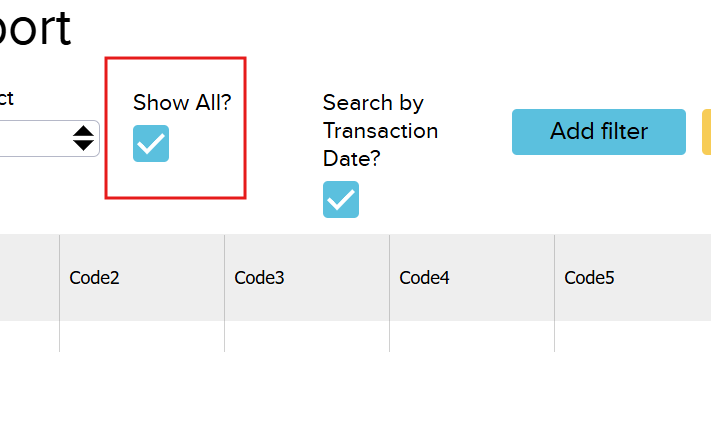
If you want to view all products (articles), you also need to select “Show all?” before opening the inventory count module/report.
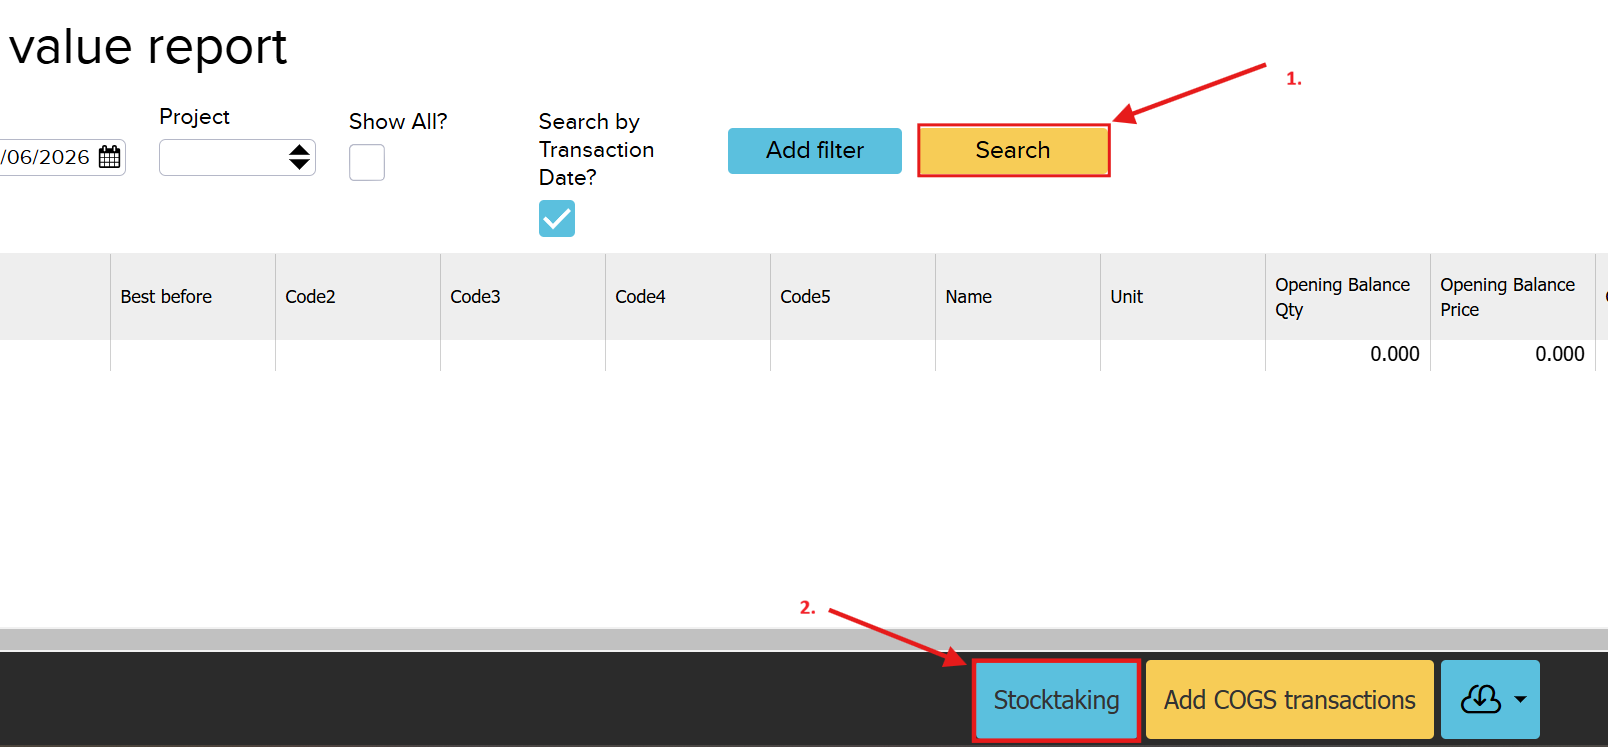
When you click “Search“, the report opens, from which you then need to click “Stocktaking” to open the module.
The “Inventory” module looks like this:

NB! The top screenshot is in Estonian. To make it easier to understand, I added the meanings in both languages
It opens in the same window as the “Inventory value report” (Kaalutud keskmise laoväärtuse aruanne).
Before you start entering data, we recommend zeroing the balances (click the “Zero Balance” (Nulli saldo) button) to avoid errors.
In the inventory, you can edit fields such as:
- Unit (Mõõtühik)
- Price (Hind): adjustable if needed
- Quantity (Kogus): what is actually in the warehouse
Aga ei saa muuta lahtreid, nagu
- Code (kood)
- Name (nimi)
- Closing Balance Qty (Lõppsaldo Kogus): the system quantity before the change
- Difference (Erinevus): reflects the difference between “Closing Balance Qty” and “Quantity”.
Once all the necessary changes have been made, save the data using the “Save” button. If you only want to view the data and are not making any changes, you can close the window using the X in the top right corner.
NB! Quantities in the inventory count must be entered in tonnes, i.e. in the base unit. The “kg -> t” plugin does not work in this module.

“Add filter”
Kui on soov teha inventuur üksnes tootegrupile X, siis kasuta “Lisa filter” nuppu. Samamoodi tuleb alguses valida periood, mida kajastatakse aruandes ja projekt (ladu). Seejärel vajutada “Lisa filter”.
If you want to perform an inventory count only for product group X, use the “Add filter” button. Similarly, you first need to select the period to be reflected in the report and the project (warehouse). Then click “Add Filter“.
When you click this button, a new window opens where you can search by parameter.
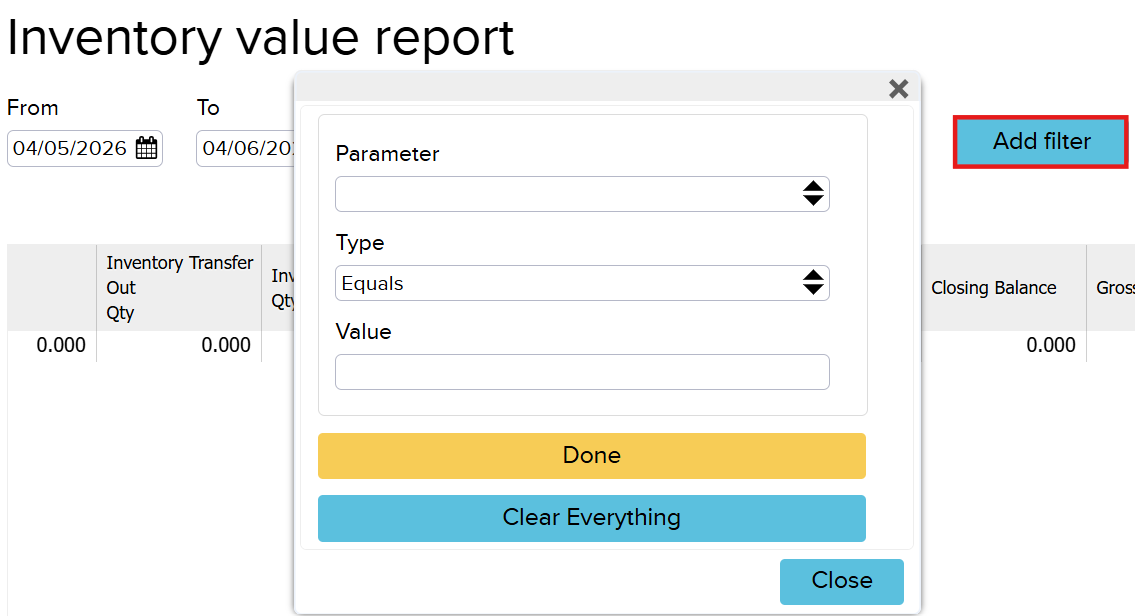
Kui lahtrid on täidetud, siis tuleb vajutada nuppu “Tehtud” ja edasi vajutada “Otsi”. Aga kui ei soovi, et lisa filter rakenduks, siis vajuta “Tühista kõik”.
Once the fields are filled in, click the “Done” button and then click “Search“. If you do not want the added filter to apply, click “Clear Everything“.
Error correction
If the “Closing Balance Qty” (Lõppsaldo Kogus) in the report is negative, it means that according to the system, more of the product has left the warehouse than was actually there or something went wrong during entry or write-off.

When you click the “Stocktaking” button, the module opens with the rows from the report.
Once all the desired data has been changed, click “Save” (Salvesta).

In this example, the quantity needs to be changed to 0, after which the difference turns green.
The system will create a warehouse stock receipt from this.
Color meanings in the inventory count:
- Green: the product quantity is positive (quantity increased)
- Red: the product quantity is negative (quantity decreased)
- Grey: the quantity is at zero
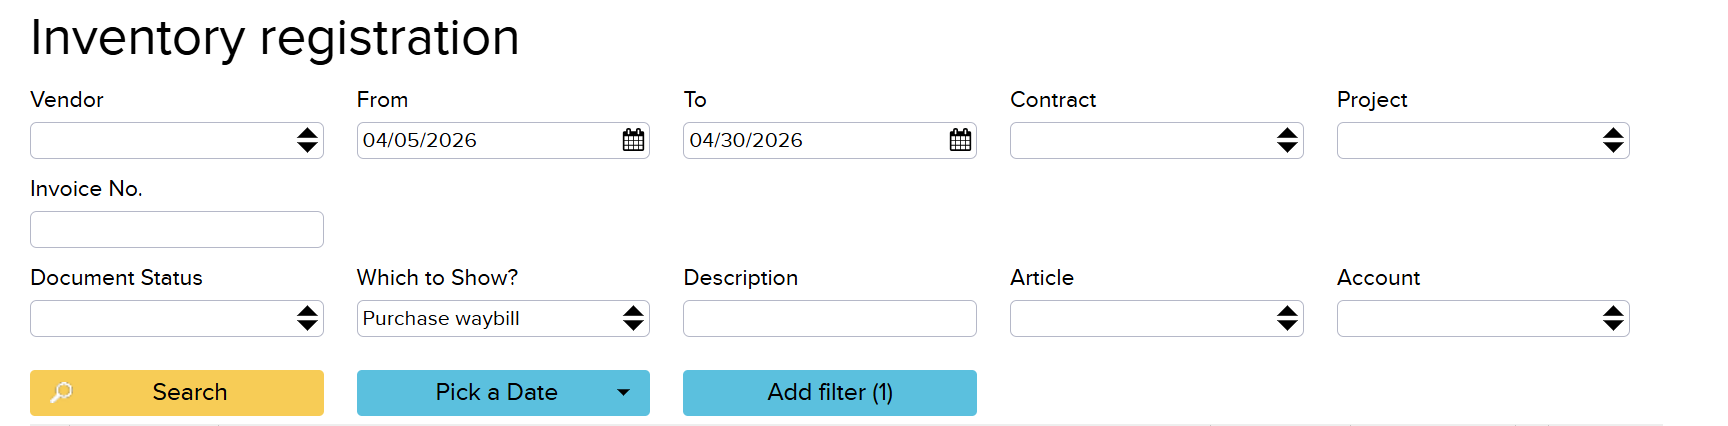
Inventory registrations
Stock receipts can be viewed by opening “Inventory” -> “Inventory reports” -> “Inventory registrations”.

When you click on the document number (Arve nr), you can see the change that was made in the “Inventory” module.

If something is written off, a stock receipt is not created – instead, it is added as a stock receipt with a negative quantity, which is recorded as an expense (e.g. warehouse write-off). If something is added, a stock receipt is created accordingly – this is reflected as a stock receipt.
From here you can also see who created the document.