Opening balances
In ERPLY Books you can add opening balances if you go to ‘’Settings -> Initial Data -> Opening Balances’’. You then have to select a transaction date for the opening balances. 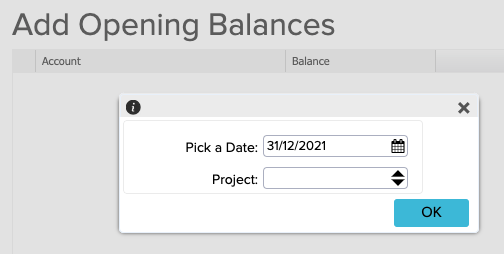 Now write your balances in the relevant cells and click on the green Save button in the bottom right-hand corner.
 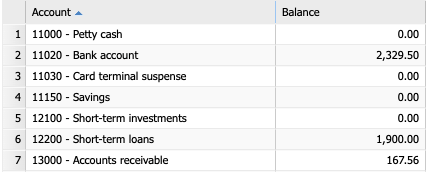 After entering the opening balances, lock the period to ensure that the opening balances remain the same. You can do this under “Settings“ -> “Configuration” -> “Period Locked to”.
Changes in the earlier period
Now we are going to see how to maintain your opening balances in case you have to make some changes to the period before setting up the opening balances. For example you want to add another purchase invoice with a date before the opening balances but you need to make sure that the opening balances don’t change together with the changes you make. First, save your existing opening balances as an Excel file. Please note that you need to get the bookkeeping accounts in the right order. You can get them if you open ‘’Reports” -> “Account Balances’’. Remember, if you get them from Account Balances you also have the summaries (Total row) here. Just take the correct balance date and click on ‘’Search’’. Now Books will show your balances. 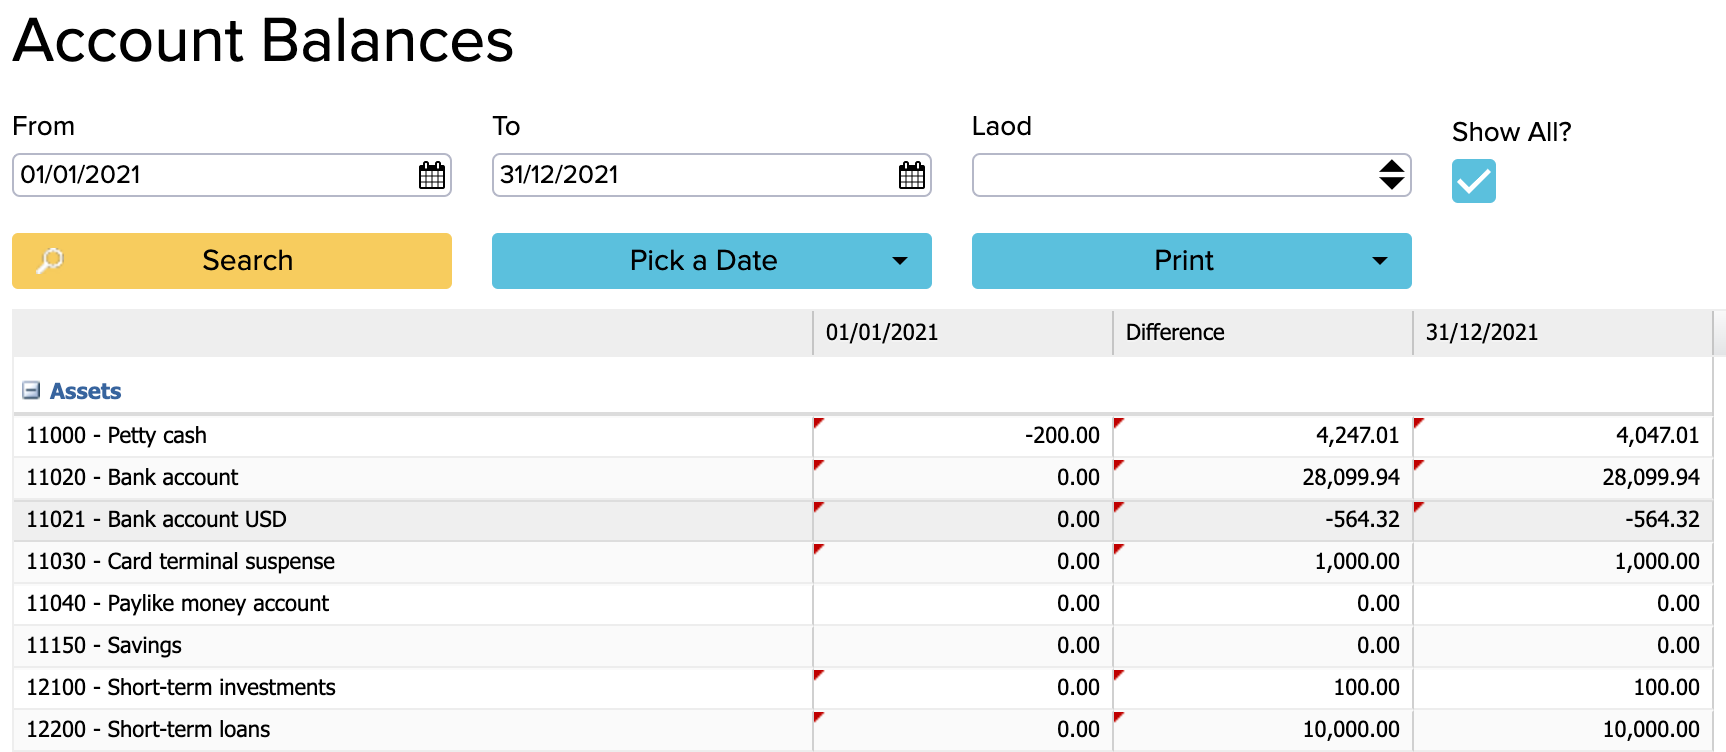 The easiest way to copy your account balances is to click on one row to activate it, then the CTRL + E combination (on a Mac keyboard Command+E), followed by CTRL+A in an opened window (on a Mac keyboard Command + A) and in an Excel file paste the balances with the CTRL+V (on a Mac keyboard Command+V) shortcut. If you have a period locked, then you have to unlock it under Configuration (Settings -> Configuration). See the ‘’Period Lock to’’ option.
 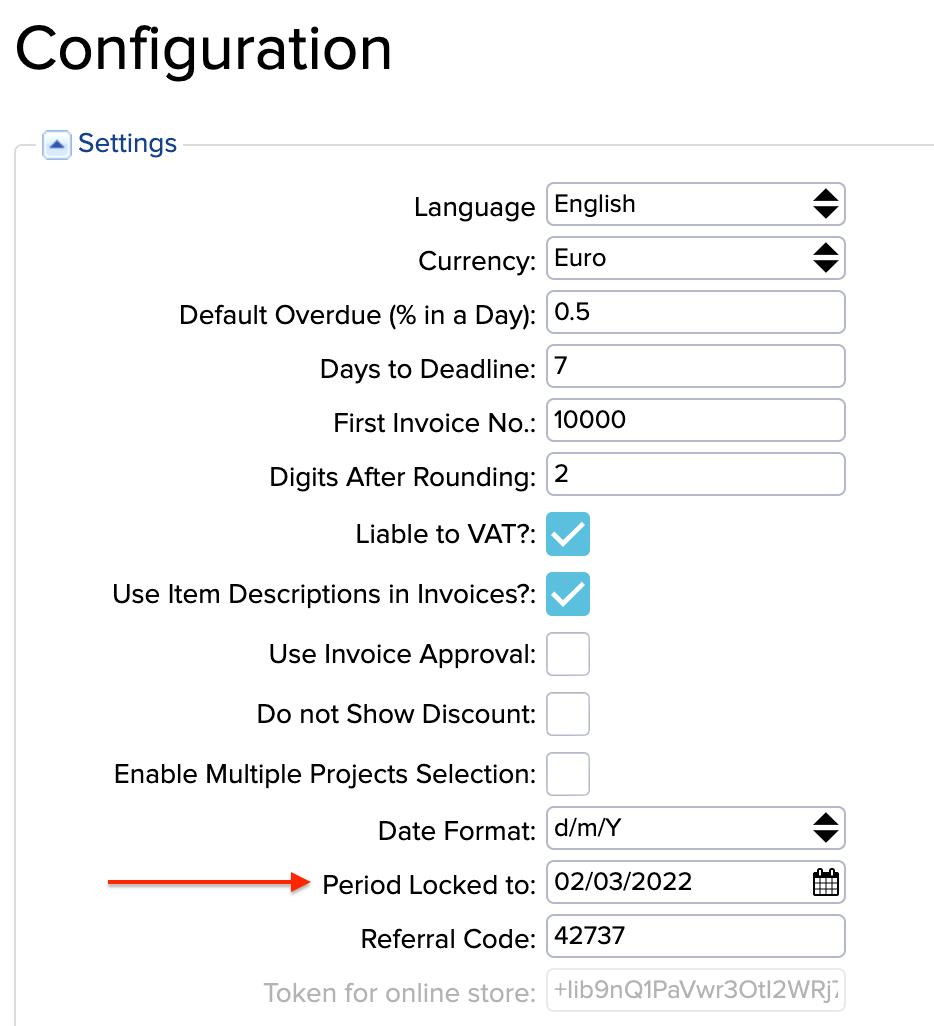 Let us now take the example where you need to add a new purchase invoice to the earlier period. Create a new purchase invoice (Purchases -> Purchase Invoice (Add New)). Fill in the information about the invoice and save it. As adding the purchase invoice to the earlier period changed the balances, you need to add correct opening balances again. For this, open ‘’Settings -> Initial Data’’ -> Add Opening Balances’’. Pick the correct date for entering opening balances again and click OK. If you want to change the opening balances in the future, you can do it in the same place as mentioned before (Add opening balances). You just have to pick a date and enter the balances. Every new input rewrites the previous balances and the system uses the most recently added/edited balances.
 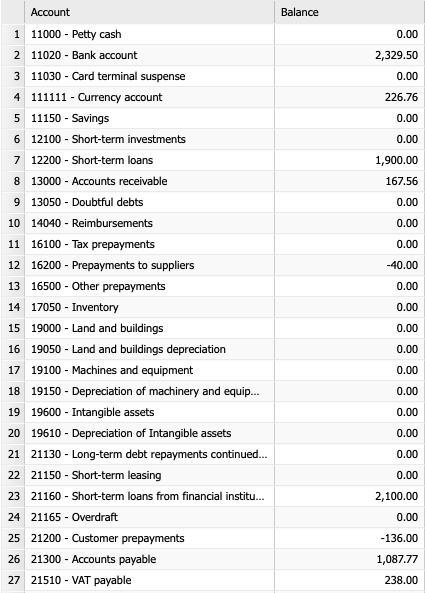 Now copy the balance column from the Excel file and in the Books in the Opening Balances module make the first balance column row blue (press Enter on keyboard) and paste the copied values (command + V in Mac or in Windows the operation CTRL+V). Then click on the Save button below and your balances are saved. The following video will explain how to maintain your opening balances. For when you want to add new information to the time previous to the opening balances.